Hello,
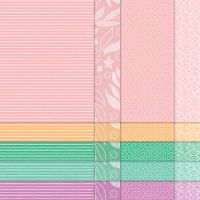
Inspired by Lisa Freeman, I wanted to try these quilt cards. Here's my first attempt using a 4" square without embossing the quilt square.
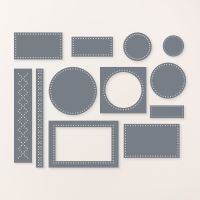
This is my version I used in my card event using a 3" square instead layered on a 3-1/4" square of coordinating cardstock.
Here are the steps on how to create the card. Scroll down to the bottom for a video tutorial. Draw lines from corner to corner to make an "X."
Lay the 2 strips along the line and create an "X". The line should be in between the strips. Then, tuck the right strip under the next strip that is perpendicular, and continue clockwise around the square.
Adhere the strips when you are happy with the design. Then, flip it over and cut the excess strips along the square.
Take the 3/4" squares and glue them onto the corners.
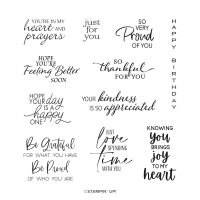
Layer the quilt onto a 3-1/4" square of coordinating color and emboss it using the Cute Crochet Embossing folder. Finish the card front with the cardstock layer and your chosen sentiment.
Please support me by:
- Registering for my monthly card events
- Signing up to get my blog posts
- Subscribing to my YouTube channel
- Shop with me for FABULOUS Stampin' Up! products
- Join my team and enjoy 20% off (or more) with no selling!
- Any questions? Email me at sharonitwithyou@gmail.com and I would be happy to help!
Thank you for checking in!
Looking forward to sharing more with you next time.
Sharon
Looking forward to sharing more with you next time.
Sharon
I am Sharon Lim and
I am an Independent Stampin' Up! Demonstrator
I sell Rubber Stamps and Accessories including Scrapbooking



No comments:
Post a Comment