Saturday, March 28, 2015

Happy birthday waterfall card tutorial

This Waterfall card is one of my favorite cards to make and give. Today at my card class this was one of the cards we made.
Check out the video below to see it in action.  Keep scrolling on how to make one of your own.


You start with:


  • a Calypso Coral card base, measuring 4-1/4" X 11"
  • a Wild Wasabi strip 1"X 4-1/4"
  • the waterfall part 1-3/4" X 9-3/4" also scored at 2", 2-3/4", 3-1/2" and 4-1/4"
  • (4) 2" squares


 Fold the waterfall part at the 4 score lines so it looks like this:
 Adhere the green strip to the end of the waterfall part, centering it.
 Line the waterfall part to the fold of the card base.
 Use the 1/16" punch to punch the green strip to the card base.
 Stamp the 4 squares with your message.
 Adhere the first square to the top fold.
Pull the waterfall part and place adhesive after the second score line.
   Adhere the second square.
 Repeat for the remainder of the squares.


Test the waterfall part out and see it flip.
Thank you for checking in!  
The list of materials is available for order below.
Sharon Lim
Stampin' Up! Independent Demonstrator #54149
Rubber Stamps and Accessories including Scrapbooking 

email: sharonitwithyou@gmail.com
Built for Free Using: My Stampin Blog

Saturday, March 21, 2015

St. Patrick's Day treats

Hello,
I am having so much fun creating goodies for my friend Andrea and her son's classmates.  It gives me the chance to relive my teaching days when I enjoyed making treats for the kids for each special occasion.
Remember the treats I made for Valentine's Day?  I posted about the Valentine Day glow sticks I made on this previous post.
Here are the samples I made for her to choose from.  
Yes, they were inspired by Pinterest.
The first one is a Lucky Penny with a glittery green bow.  I was thinking if the treat needed to be something without candy, this would be a cute alternative.
The second sample (the one she chose) is a Tic Tac Toe card with a small ziploc bag of green and white TicTacs.  I wanted to find some M&M's but couldn't find just green ones, and didn't want to search through an assorted bag of them. I guess I could also use Jelly Bellys too.
Do you like the little ziplocs with the shamrocks?  I've had them for a LONG time and am happy to FINALLY use them.
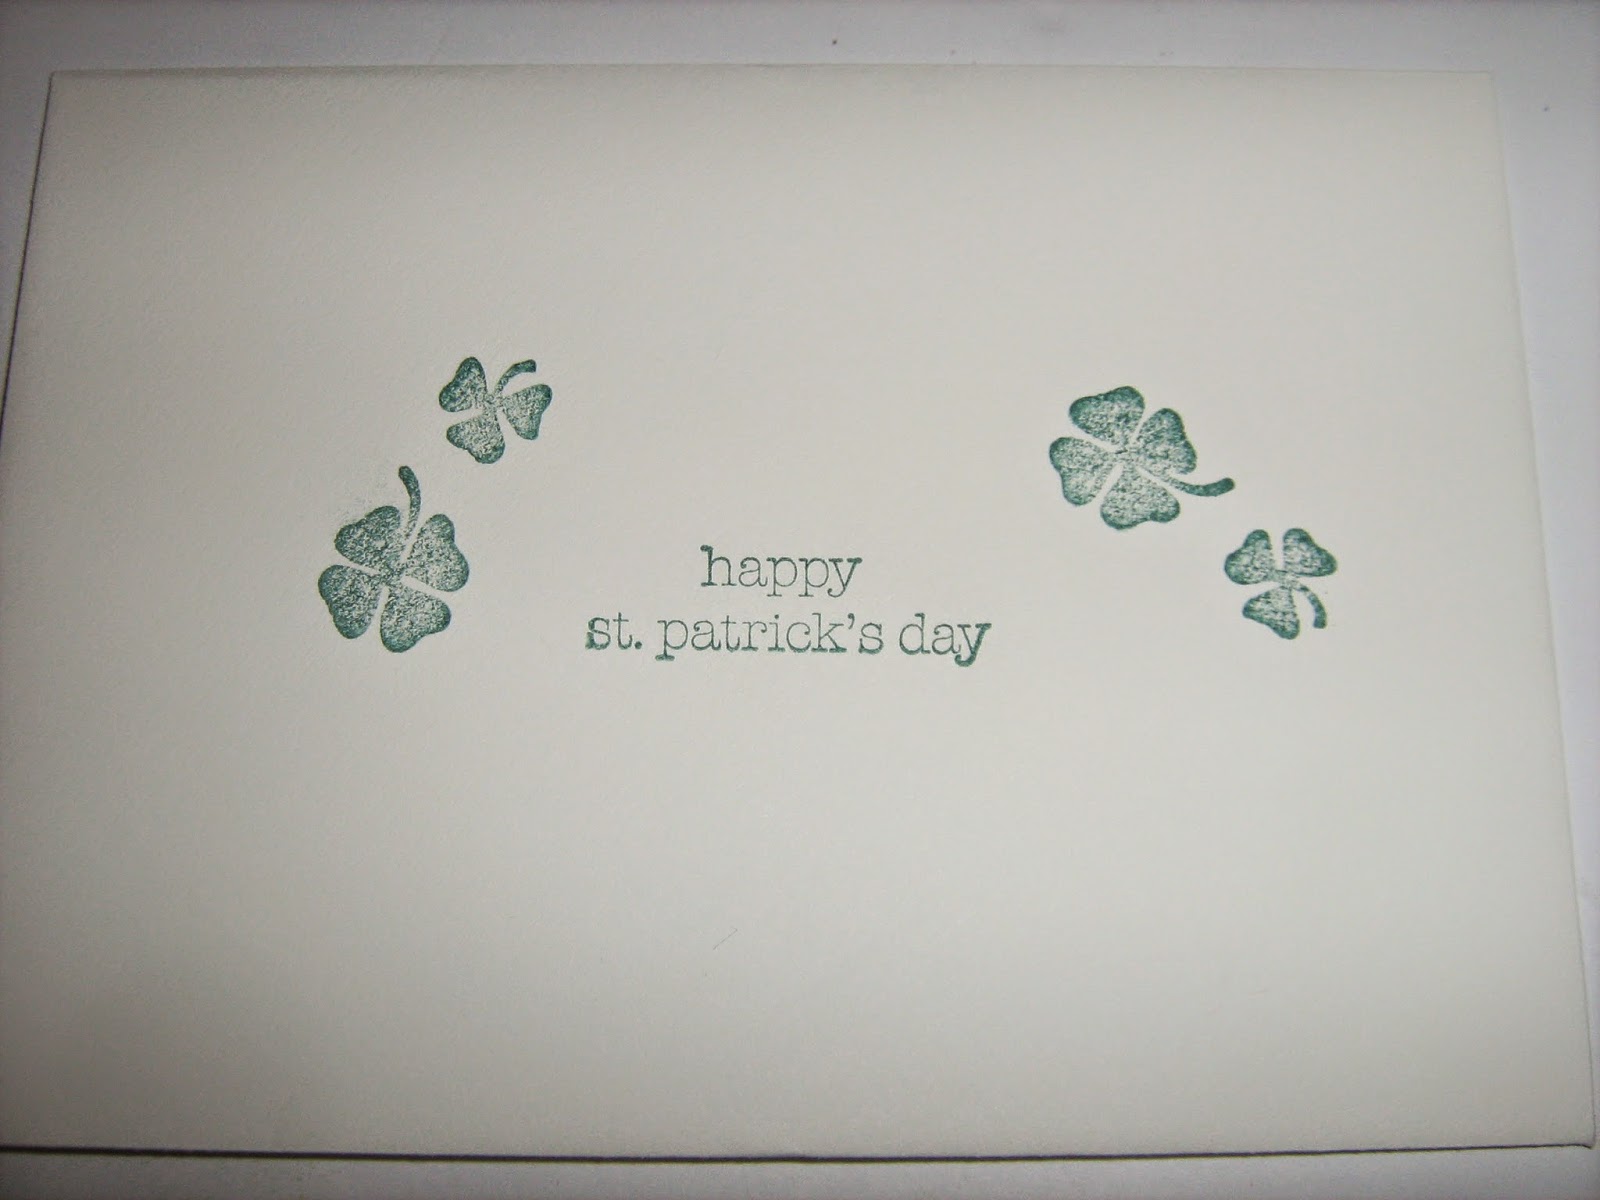
 I also stamped the envelope with "Happy St. Patrick's Day" and with some green shamrocks.
This is the bag of 22 of the treats, complete with tissue paper and green curling ribbon.  How does it look?
Thank you for checking in!  
Sharon Lim
Stampin' Up! Independent Demonstrator #54149
Rubber Stamps and Accessories including Scrapbooking 

email: sharonitwithyou@gmail.com
cell: (707)486-3500

Friday, March 13, 2015

My next card class on Mar. 28th from 2-4pm!!

You will make 2 of each design.
The first one is a Happy Birthday waterfall card.  If you want to see it in action, here's a video.
The next card is an Easter Card.  Who can't resist a BUNNY BUTT?
Here is the outside.
Here is the inside.
The last card is a pop up gift card holder...What's B.Y.O.P?
"Buy Your Own Present," Get it?

If you are interested in taking this class, it'll be at "It's all about the Scrapbook" in Dixon on Mar. 28th from 2-4pm

Bring your own adhesive, paper cutter and scissors.
To sign up for a class, send a check made out to, "It's all about the Scrapbook" or with your credit card information with the date of the class and your name to:

It's all about the Scrapbook
1670 N. Lincoln Street, Suite B
Dixon, CA 95620
or call 707-676-5252 with the date of the class, your name and your credit card information.

Let me know you want to attend so I will have enough materials for you!
Thank you for checking in!  
Sharon Lim
Stampin' Up! Independent Demonstrator #54149
Rubber Stamps and Accessories including Scrapbooking 

email: sharonitwithyou@gmail.com
cell: (707)486-3500


Built for Free Using: My Stampin Blog