Showing posts with label Good tips. Show all posts

Sunday, May 12, 2024

Bee My Valentine "W" card and Bee Builder punch tip


Hello,
I love this fun fold so I had to make it using the Bee My Valentine bundle. Click this link to watch the video tutorial.
Here are the items you need to make this card.


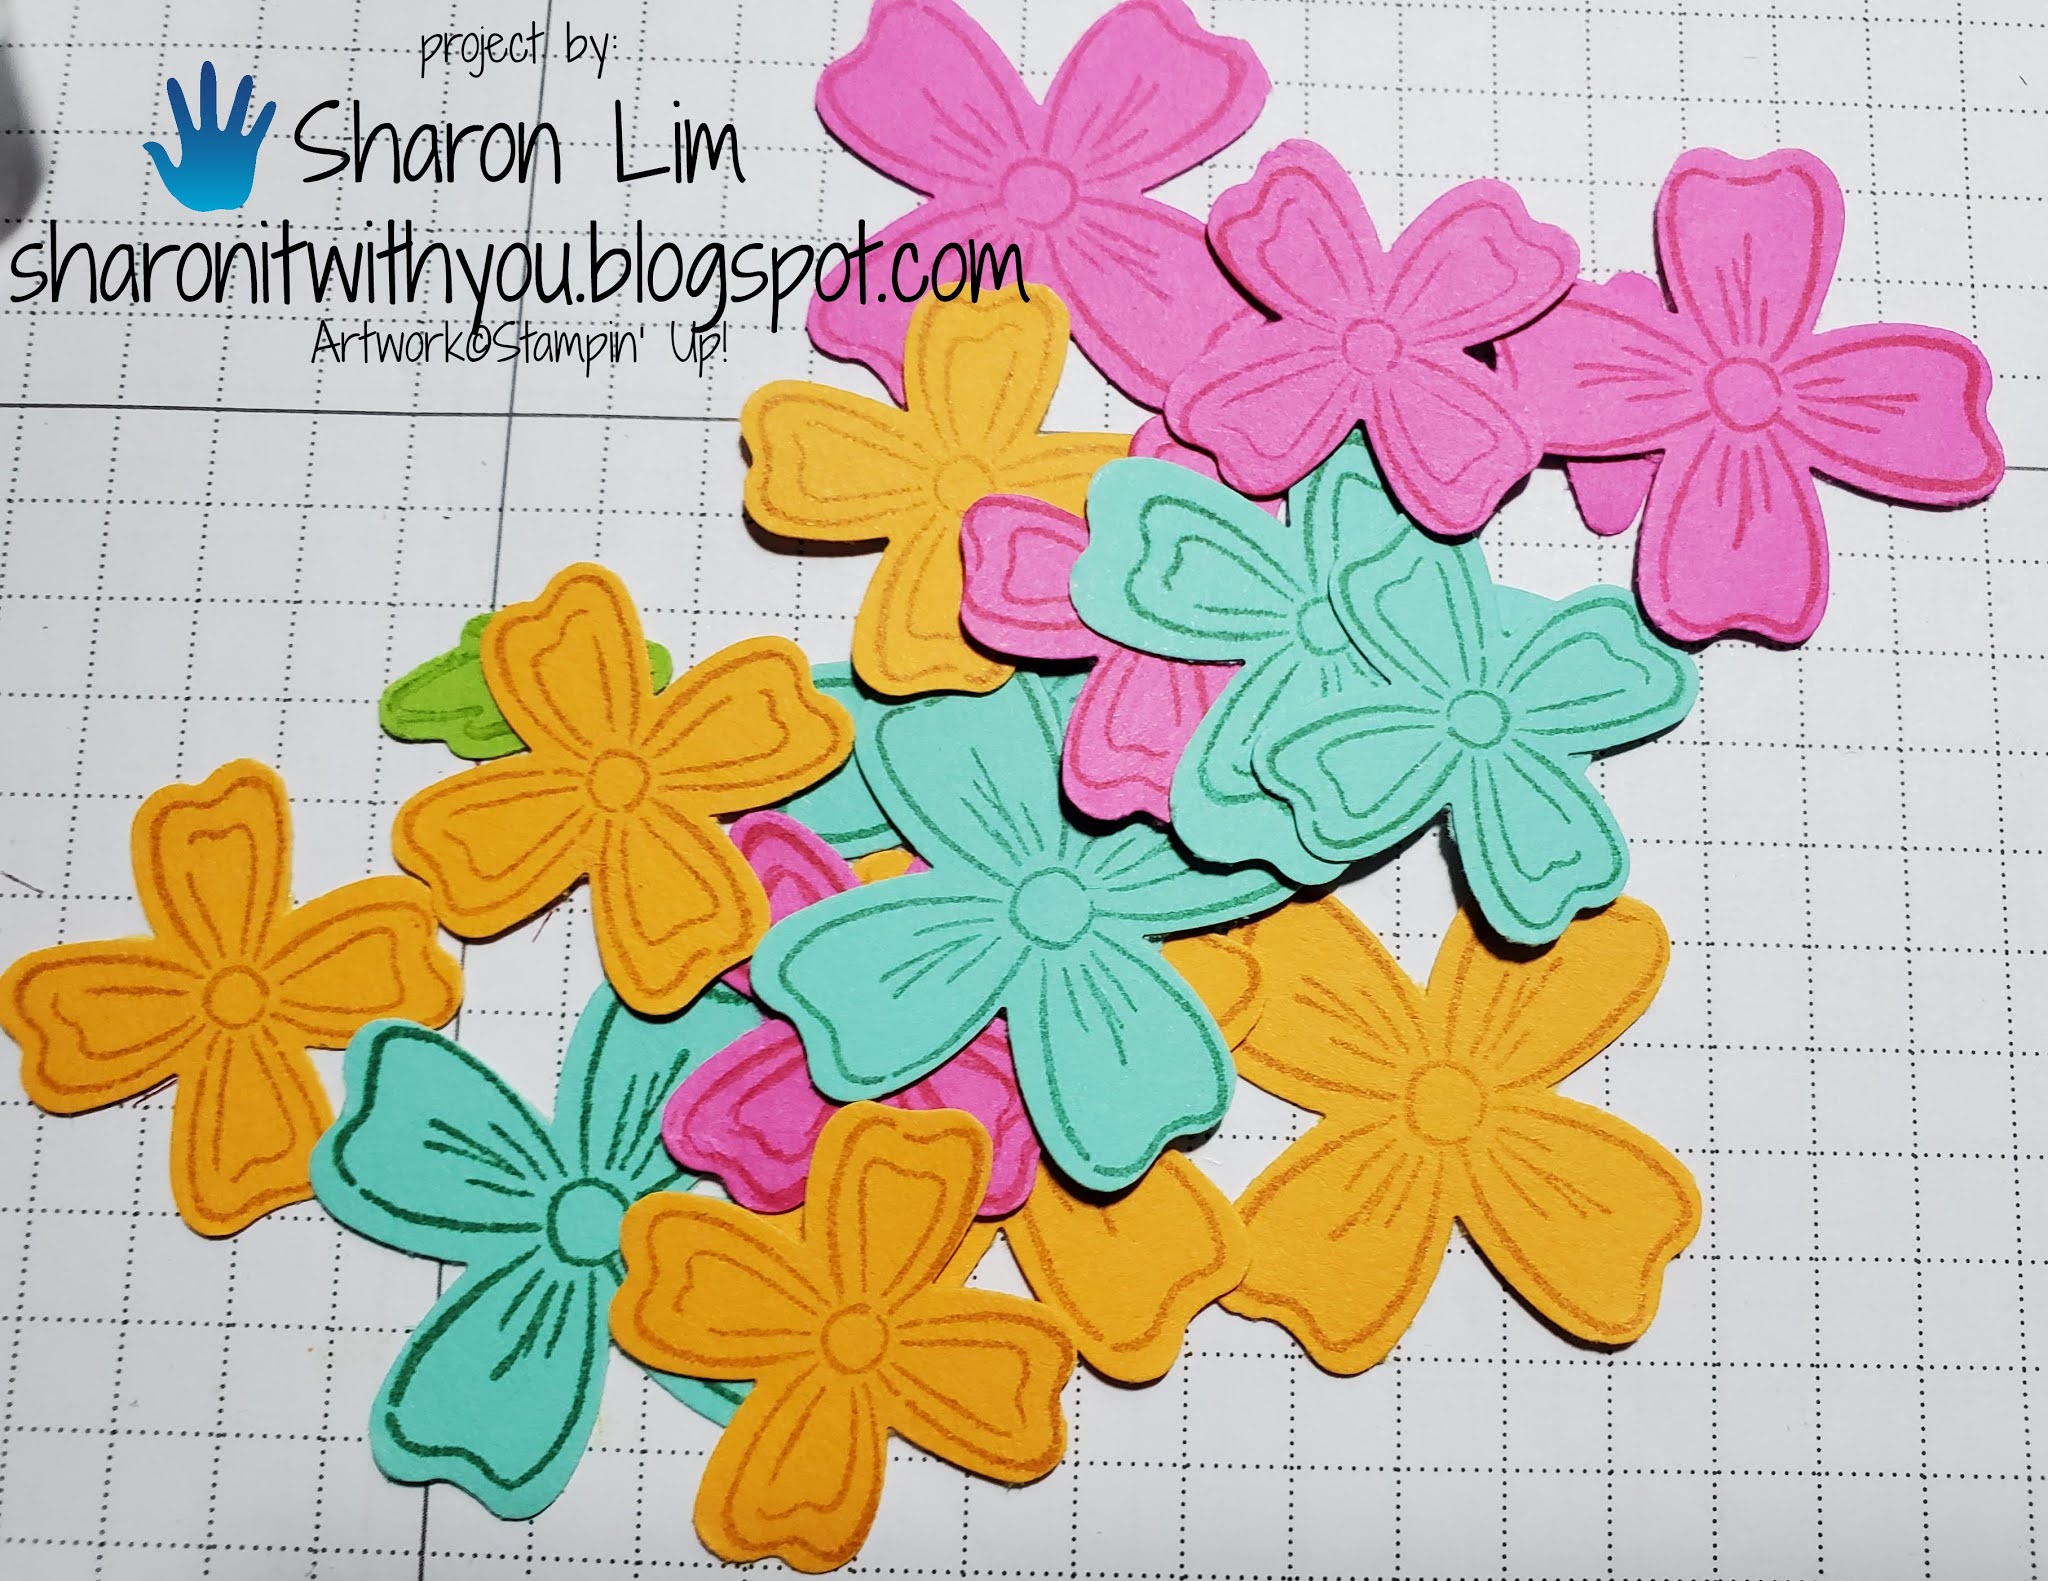
One tip I have is using the punch to make a stencil for the stamps to line them up so you can punch out all the pieces in one punch. First, punch a piece of scrap paper.
Then, place the coordinating stamps in the punch openings.
Then, place the block over the stamps to "catch" them onto the block.
Ink the body in Daffodil Delight and ink the antennae and wings in Memento Black all at once.  Flip the cardstock and stamp again.  Then stamp the stripes and faces next on both sides with the faces facing each other. Now you can punch out parts for 2 bees and put them together.
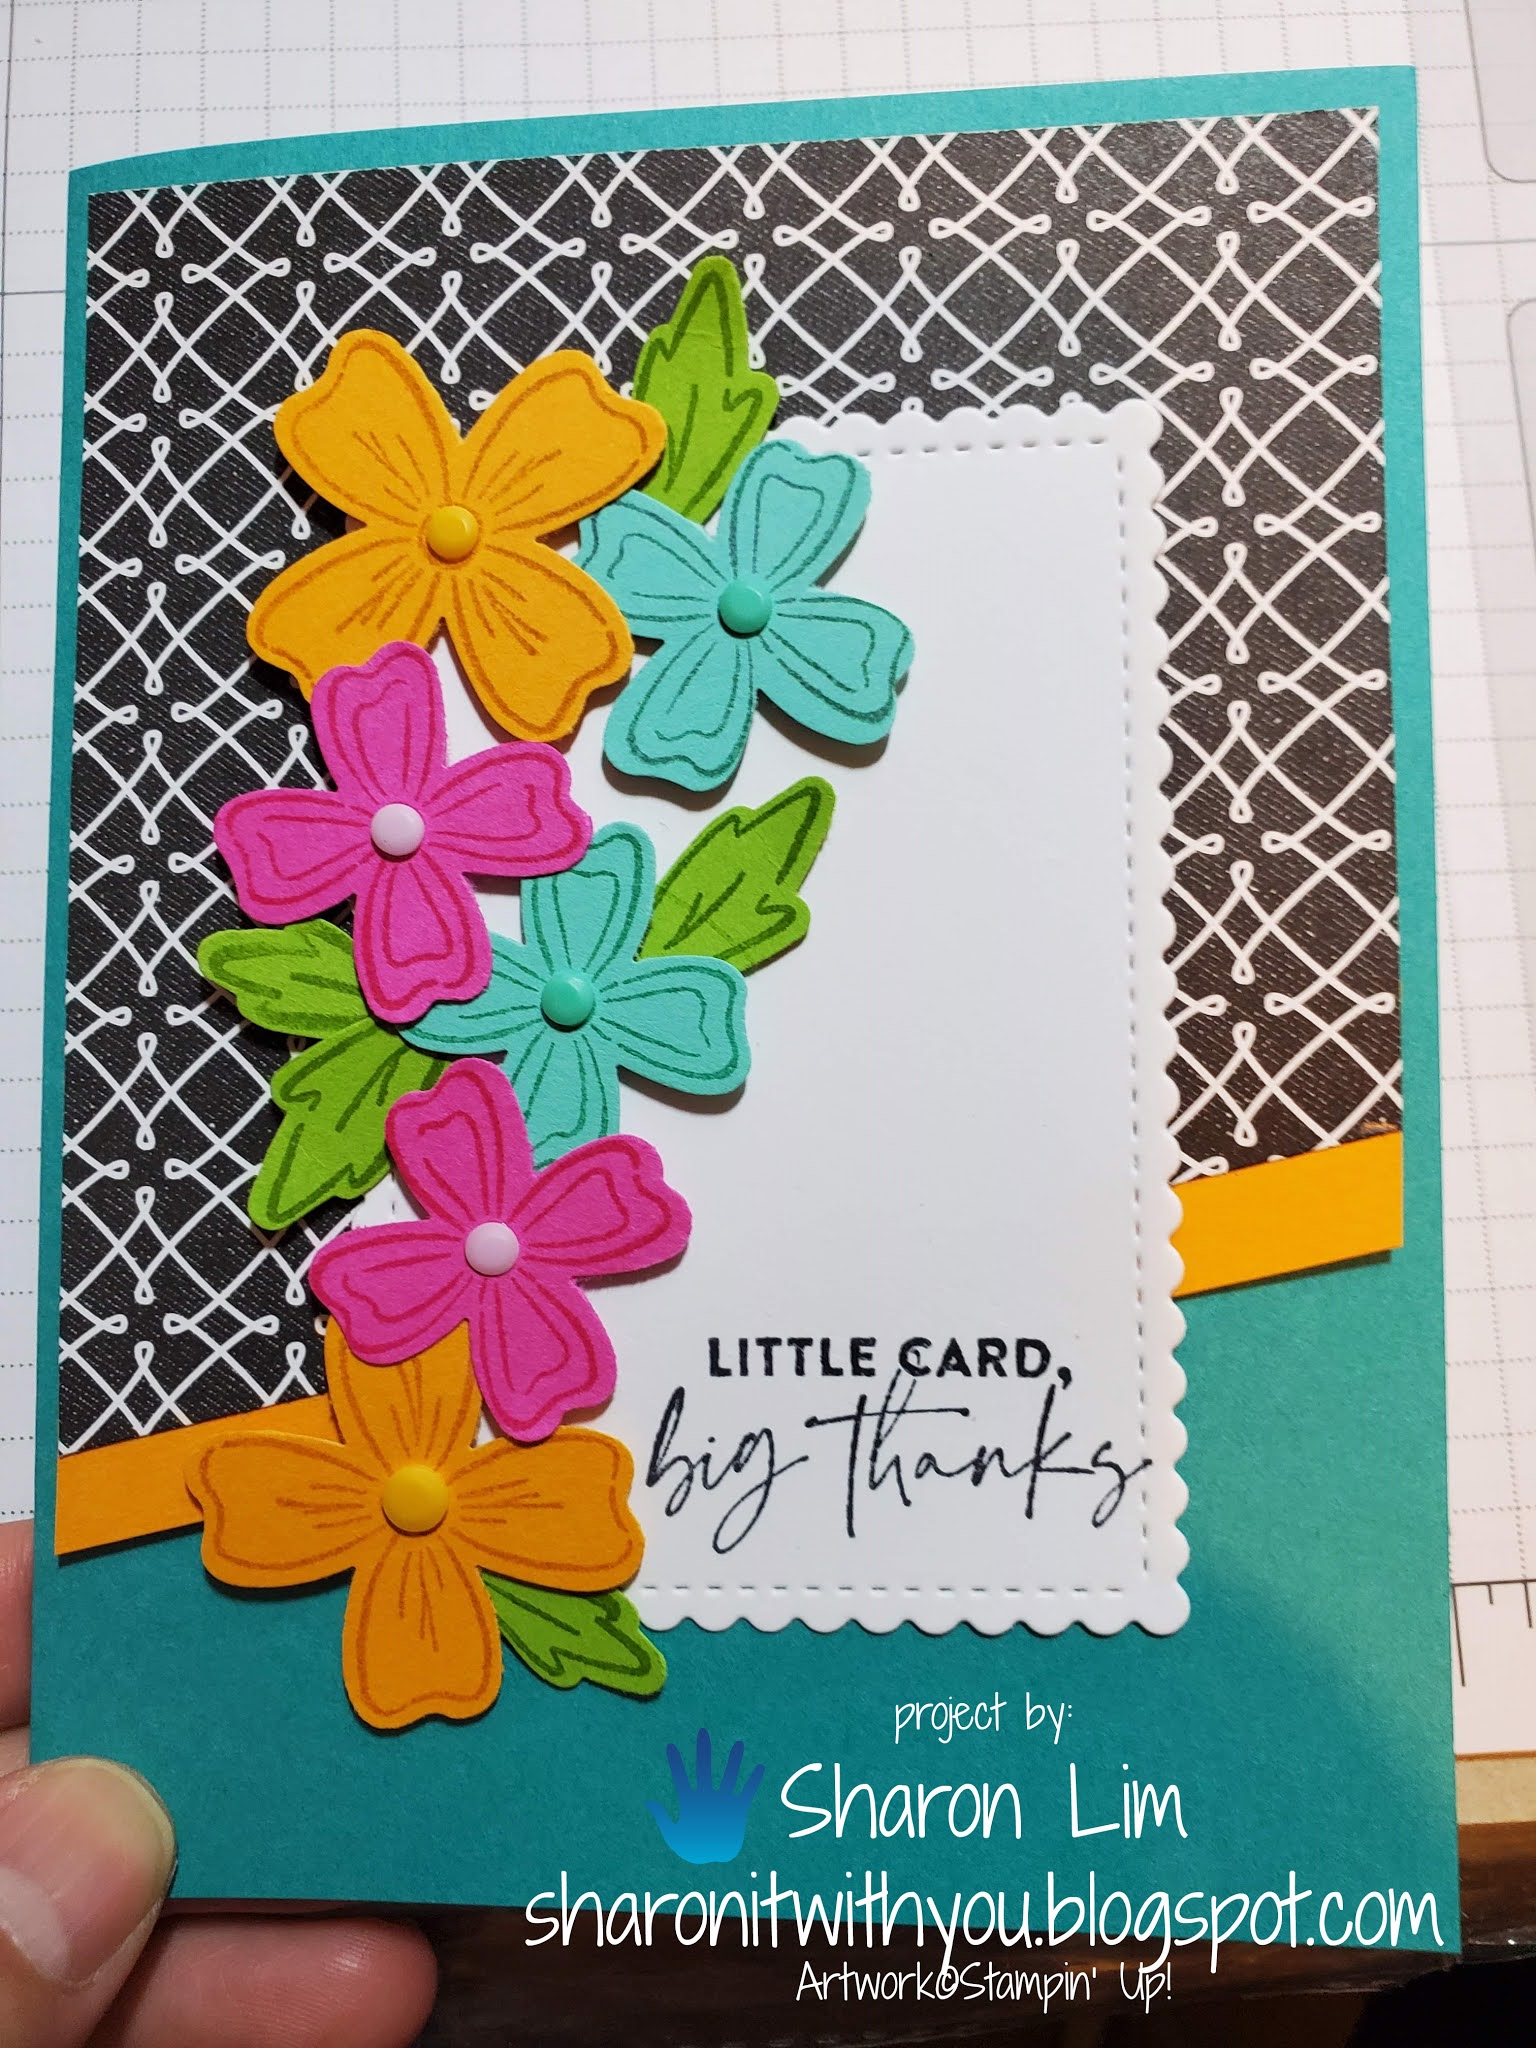
To put the card together, adhere the Poppy Parade then tie the ribbon on the DSP and adhere the DSP on top of the Poppy Parade.
Fold the strip into a "W" and stamp the four panels as desired with the place the bees in opposite directions. Place adhesive on the ends of the "W" and place it into the card base and close the card to ensure the that it opens and closes correctly.  That's it!


Please support me by:           
              
CHECK OUT MY LINKS for more ways to connect with me!!
Thank you for checking in!
Looking forward to sharing more with you next time.    
Sharon  


I am Sharon Lim and

I am an Independent Stampin' Up! Demonstrator 

I sell Rubber Stamps and Accessories including Scrapbooking 

Saturday, August 7, 2021

Front Curve Pop Up card

Hello, 


My friend April sent me this card that she made with a video from Vy Tran, another SU! demonstrator. I always wondered how the front curved and didn't fold.  Until I received April's card, I never understood how it worked.  Now I know how to it works!

And BONUS...it fits in a regular A2 envelope!!!

Here's my take on it.


Scroll to the bottom for the video tutorial. 

Below is the picture tutorial. Start with a piece of cardstock that measures 5-1/2" X 4-1/4" scored at 2-3/4". The original was an already decorated cardstock.  I glued some DSP on the Basic Gray cardstock to copy the look.

The pop up part measures 2" X 4-1/2" score it at 1/2", 2-1/4", and 4".
The front strip measures 1-1/4" X 6-1/2" score it at 1/2" and 6".
The two tabs measure 1/2" X 1 scored at 1/2".
I used the Layering Hugs die and covering it with a label from the Tasteful Label dies, and embossed it with embossing powder.
Here are my other two creations. What do you think?


Here's the video tutorial with directions on how to make this awesome card.

Please support me by:         

CHECK OUT MY LINKS for more ways to connect with me!!
Thank you for checking in!
Looking forward to sharing more with you next time.    
Sharon  


Sharon Lim

Stampin' Up! Independent Demonstrator 

Rubber Stamps and Accessories including Scrapbooking 


Tuesday, July 13, 2021

Flowers of Friendship and Flowers and Leaves Punch tip

Hello, 

I am really having fun with the Flowers of Friendship and the Flowers and Leaves punch bundle.  I can't stop making stamping and punching them out.  I wanted to make a lot of them, so this is what I how I made all these quickly.


First, I punched a piece of Basic White.

I placed the stamps so that they matched the holes I punched out and placed them on a clear block.
As you can see, the stamps are slightly overlapping on the clear block.
Then, I stamped the flowers on matching cardstock. This is Mango Melody ink on Mango Melody cardstock.
Then I put the cardstock into the punch upside down so I can line up the punch with the stamped images.
And I punched them out, ta-dah!
Then, I repeated the same technique with the two leaves. I lined them up with the punched out opening.
Then, I laid the stamps on the clear block.
I stamped them in Granny Apple Green ink on Granny Apple Green cardstock and lined them up in the punch and punched them out.
Here are the cards I made, inspired by Kurstan Del Rosario's cards, what do you think?

Please support me by:    

CHECK OUT MY LINKS for more ways to connect with me!!
Thank you for checking in!
Looking forward to sharing more with you next time.    
Sharon  

CLICK ON THE IMAGES BELOW TO ORDER SUPPLIES TO MAKE THIS CARD 

Sharon Lim

Stampin' Up! Independent Demonstrator 

Rubber Stamps and Accessories including Scrapbooking