Showing posts with label Pinterest. Show all posts

Saturday, November 14, 2015

Had another GREAT craft faire!!

Another successful craft faire in the record books!! 
Here is my BFF Cynthia posing at our table at the Fairfield Senior Center.  I even had someone visit after her sister-in-law, a fellow Stampin' Up! demonstrator who lives in North Carolina, tell her about the craft faire...SO COOL!
 Here are some of my creations:
Tealight Snowmen
 Peppermint Patty Snowmen.  They were so popular, I sold out and received 2 additional orders (50 and 15) to make more!!
 Tootsie Roll Treats, I made both Reindeer and Penguins.
 My newest craft this year was a Mini Altoids tin holder.
 Here it is opened.
 Another new craft this year was the Sixlet Turkeys.  So popular, I ran out of them and had an order of 20 to make before Thanksgiving.
Someone even bought one and used it as a pin to accent her Turkey costume.  Luckily Cynthia had a safety pin to offer her.

  This year, I added a different version of gift card holders using paper bags as a base. Here are the 8 different paper styles.

 And, another oldie, but goodie, a Santa gift card holder made with an the Envelope Punch Board.
 My most popular craft is the Snowmen Candy bars.  Each bar is covered with an image and a nice sewn fleece hat tied with a jingle bell.
Here's how I made the Altoids holder:
I started with a piece of Whisper White cardstock that is 4-1/4" X 2-1/2" and scored it at 1-3/4" and 2-1/2".  I adhered some ribbon to the inside with some Tear and Tape.
 And also used the Tear and Tape to adhere the tin to the back of the holder.

Then, I tied the ribbon in a bow.
 Then, I put them in a nice plastic bag to package it nicely.
Let me know if you are interested in any of these!
Thank you for checking in!


Sharon Lim
Stampin' Up! Independent Demonstrator #54149
Rubber Stamps and Accessories including Scrapbooking 

EMAILsharonitwithyou@gmail.com
CELL: (707)486-3500

Saturday, May 9, 2015

Teacher Appreciation Gifts!!

May 4-8 is Teacher Appreciation Week and these are the things I created for teachers.  First, is a printout I found on Pinterest and used some frames I got from Michaels.
 Next, I made some Hershey Kisses roses.  I usually make these for Valentine's Day, but thought they might be nice for Mother's Day and Teacher Appreciation.
 I sold them as single roses and also packed them in half a dozen (6) bouquets wrapped in green tissue paper and tied with a nice white organza ribbon.  I used bamboo skewers, red cellophane, floral tape and leaves to make the roses.


Thank you for checking in! 
Sharon Lim
Stampin' Up! Independent Demonstrator #54149
Rubber Stamps and Accessories including Scrapbooking 

email: sharonitwithyou@gmail.com
cell: (707)486-3500

Sunday, April 12, 2015

Homemade bean and cheese burritos

I'm on another cooking from scratch kick...it TOTALLY satisfies the frugality/cheapness in me.
I made some refried beans from scratch.  

Here's the Pinterest recipe I used.
INGREDIENTS:
2 lbs pinto beans
1 large onion, chopped
4 Tbsp. jarred minced garlic
1 tsp salt
1 tsp pepper
2 tsp cumin
10 cups hot water
DIRECTIONS:
  1. Rinse beans in colander. Pick out the bad beans.
  2. Combine all the ingredients in the crockpot.  Remove any floating beans. Cover, and cook on HIGH for 4 hours and then on LOW for 2 hours
  3. Uncover, and remove extra liquid.  Leave enough liquid to reach the desired consistency when the beans are mashed.  
  4. Mash beans with a potato masher to desired consistency.
  5. Serve warm. Store in air-tight containers in the refrigerator and use within 2 weeks, or freeze in ziplock bags for later use.

After having some bean and cheese burritos for dinner, I got 3 quart sized ziploc bags full of beans to make more burritos later.
2 days later, I spread some beans and sliced up some cheddar cheese to wrap in some warmed up tortillas.  I ended up with 9 burritos total.  I ate one for dinner and wrapped the rest in ziplocs and froze them.
I like the my tortillas toasted so I put mine in a pan until it turned golden brown on both sides. YUM!!
Here are the rest of the burritos all packed up to freeze to eat later.
Do you have any good freezer recipes to share?
Check out my Freezer Meals Pinterest board
I want to try some some of freezer meals I've pinned, and if I deem them successful, they will then be pinned on my Pinterest WINS!!! board

Thank you for checking in!   
Sharon Lim
Stampin' Up! Independent Demonstrator #54149
Rubber Stamps and Accessories including Scrapbooking 

email: sharonitwithyou@gmail.com
cell: (707)486-3500

Saturday, April 4, 2015

Do Slime and Easter go together?

I believe they do...
Here are the Easter treats I made for Andrea's son's class.  

It is a carrot shaped bag filled with a little Easter grass and a plastic egg filled with homemade slime.
The slime recipe is: 
Mix 1 cup glue with 1 cup of water (with a few drops of food coloring) in a bowl. 
In a separate container, mix 1 tsp of borax in 1 cup of warm water.  Stir until borax dissolves.  

Pour the borax solution into the glue and water mixture and mix together. It'll look like this, kind of chunky and blobby.
Keep mixing/kneading until all the liquid is absorbed.  And this is what it looks like when it's done.
Here is the box filled with 22 carrots.  

I packed the box and then wrapped it to make it look nice for Andrea.
Thank you for checking in!  
Sharon Lim
Stampin' Up! Independent Demonstrator #54149
Rubber Stamps and Accessories including Scrapbooking
email: sharonitwithyou@gmail.com
cell: (707)486-3500

Saturday, March 21, 2015

St. Patrick's Day treats

Hello,
I am having so much fun creating goodies for my friend Andrea and her son's classmates.  It gives me the chance to relive my teaching days when I enjoyed making treats for the kids for each special occasion.
Remember the treats I made for Valentine's Day?  I posted about the Valentine Day glow sticks I made on this previous post.
Here are the samples I made for her to choose from.  
Yes, they were inspired by Pinterest.
The first one is a Lucky Penny with a glittery green bow.  I was thinking if the treat needed to be something without candy, this would be a cute alternative.
The second sample (the one she chose) is a Tic Tac Toe card with a small ziploc bag of green and white TicTacs.  I wanted to find some M&M's but couldn't find just green ones, and didn't want to search through an assorted bag of them. I guess I could also use Jelly Bellys too.
Do you like the little ziplocs with the shamrocks?  I've had them for a LONG time and am happy to FINALLY use them.
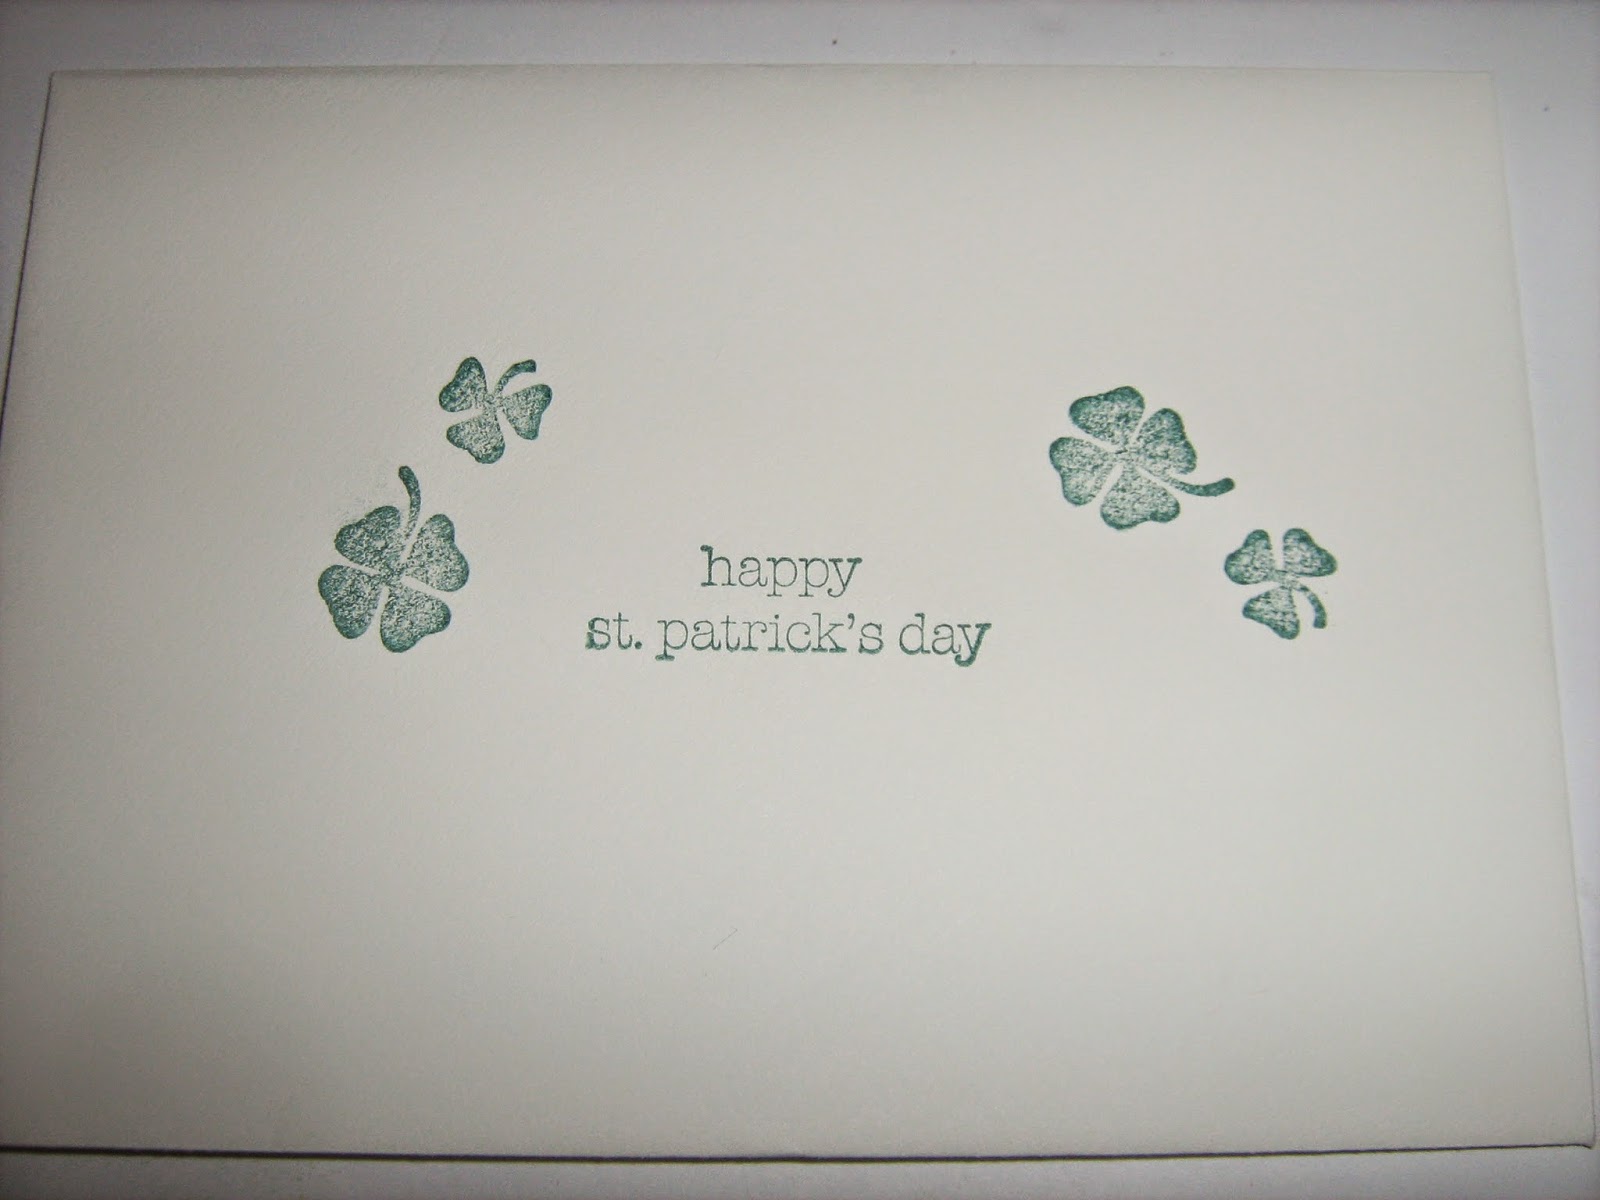
 I also stamped the envelope with "Happy St. Patrick's Day" and with some green shamrocks.
This is the bag of 22 of the treats, complete with tissue paper and green curling ribbon.  How does it look?
Thank you for checking in!  
Sharon Lim
Stampin' Up! Independent Demonstrator #54149
Rubber Stamps and Accessories including Scrapbooking 

email: sharonitwithyou@gmail.com
cell: (707)486-3500

Saturday, February 21, 2015

Card holder made from a Pringles can

Another Pinterest inspired creation. If you saw this previous post, I like creating Christmas card holders.  

I saw this card holder on Pinterest and wanted to try it out.   
I announced on Facebook that "I needed a Pringles can STAT!" and as any true BFF would do, Cynthia obliged me with one for me to use.  What a great BFF!!!
This is my attempt at the card holder.
Here is the card holder from the top.
I also used the Gift Bow Bigz L Die for the top instead of Christmas Holly.
My friend Dolly requested a red one for her cards.  Here it is:
Unfortunately, nowadays a lot of people send photo cards, so she was having difficulties putting those in the card holder.
This is what I found on Pinterest as a solution to display her Holiday photo cards.

This card holder will also be good as a centerpiece for a graduation.  I put a graduation cap on top and all the cards can be displayed at a graduation party.


The card holder can be specific to school colors.

I have more cans, so what other colors should I make?


Thank you for checking in! 

Sharon Lim
Stampin' Up! Independent Demonstrator #54149
Rubber Stamps and Accessories including Scrapbooking 

email: sharonitwithyou@gmail.com
cell: (707)486-3500


Built for Free Using: My Stampin Blog

Sunday, February 8, 2015

Valentine glow sticks

Inspired by Pinterest once again!
I was asked by a friend to come up with some Valentine goodies for her son's class.  I immediately went to Pinterest and found a TON of ideas.  This is the one I decided to do. It is a Valentine with a glow stick.
This is a picture of the printable I found on Pinterest.  There are two versions, here is the blue one.
Here is the pink version. You just need to print out the Valentines, cut them out, and punch two holes at opposite ends to slip the glow stick through.  The top part is the connector that comes with the glow stick to let you make it into a bracelet if you want to.
I ended up making a total of 45 of them, 21 for her son and 24 for her nephew.  It was a little tricky, I accidentally activated a few glow sticks as I was making them, so I was extra careful after doing it a couple of times.  Here they all are UNACTIVATE and NOT glowing!! 

Thank you for checking in!  
Sharon Lim
Stampin' Up! Independent Demonstrator #54149
Rubber Stamps and Accessories including Scrapbooking 

email: sharonitwithyou@gmail.com
cell: (707)486-3500

Saturday, January 17, 2015

Origami fun!

Hello!
To be truthful, I think I was immediately OBSESSED when a friend in junior high, RuthAnn introduced me to Origami.  
She taught me how to fold a crane and a frog.  From then on, whenever I had a piece of paper, I would fold them, over and over until I committed each fold to memory.  Even today, folding a piece of paper is interestingly relaxing to me.

So, I had lots of different 12 X 12 paper, cut them into 6 X 6 squares and made this cube by folding 6 squares. I learned how to make this from Pinterest.
Start with a 6 X 6 paper and fold it in half and then in half again on both sides until you get 16 squares.
Then, fold each corner to the center to make this shape.  Unfold it and then, flip it over.
And fold only the corner squares in.

You should be able to fold each side in to create this shape.
Once they are all folded in, you will get this.
Cut a piece of paper that is 2-7/8" by 2-7/8" and slip it in to keep the frame flat.
Cut another piece of paper that is a 2" square and score it diagonally.  This piece will put all the squares together.
Fold the paper on the score line, put adhesive on one flap at a time, and just slip it in between the flaps and attach them together.
Like this:
You can make a square with 4 of the frames.
Then, insert 4 more of the 2" squares on the top to attach the top frame and repeat to the bottom to finish off the square.
Here is the finished cube.
Again, I become obsessed and made a TON of frames.  For these, I attached them together in groups of 4 to make hanging frames. 
 Who needs one and what color do you you want?
Thank you for checking in! 
Sharon Lim
Stampin' Up! Independent Demonstrator #54149
Rubber Stamps and Accessories including Scrapbooking 

email: sharonitwithyou@gmail.com
cell: (707)486-3500