Friday, December 23, 2016

Christmas paper Crackers including tutorial!!

I LOVE making these Christmas Crackers.  I used multiple packs of Warmth and Cheer 6X6 Decorative Series Paper (DSP).
I watched this Helen Griffin's video
First, you score at 1-3/8", 2-3/4", 4-1/8" and 5-1/2". 
 Then, you turn it 90 degrees and score at 1", 1-1/2", 2", 4", 4-1/2" and 5"
 Your paper should look like this:
 Fold into a "C"
 Fold over the first 1/2" and using the Envelope Punch Board and punch at 1-1/2" and at 4-1/2".  Repeat BOTH the fold and the punches on EVERY score line.
 Even punch the edge of the paper, see the bottom? When you are done, your paper should look like this:
 Turn to the side and fold both sides like "W's" so your paper will now look like this:
 Place some Tear and Tape on the 1/2" edge.
 Peel off the paper and lay it down on the table,
 And place the other side on top of the adhesive you just exposed.
 You should now have a box like this:
I put 2 Ferrero Rocher in the box with the gold showing on the outside.  Then, use any 2 pieces of ribbon or string to tie over the holes so it looks like this:

As an added bonus, I decorated the bag that held a special order of 15 Christmas Crackers to look like Rudolf the Red Nosed Reindeer.
I even made a Mardi Gras themed cracker for my friend Leanne.  Here they are!


Thank you for checking in!
Sharon


Sharon Lim
Stampin' Up! Independent Demonstrator #54149
Rubber Stamps and Accessories including Scrapbooking 

EMAILsharonitwithyou@gmail.com
CELL: (707)486-3500
PayPal.Me/SharonLim

Sunday, December 18, 2016

Magic Card Tutorial

Hello,
Inspired by this Magic Card video, I wanted to try this technique out.  
Here's my version of it using the Jar of Love stamp set and the Everyday Jar Framelits.  The first picture is the card insert inside and the second picture is the card insert pulled out, revealing the hidden picture.  Cool, right?
First I folded the 12x12 By the Shore DSP (Decorative Series Paper) in half and cut out 2 of the Mini Treat Bags.  I could get 2 per sheet.  This is what the pieces look like, see how they are opposites?  You want to score about 1/8" from the score you get from the Framelits.
 Then, using the Layering Ovals, I cut out a window on one of the sheets.
 Using the Foam Strips, I cut them to fit the sides of the paper.  See how one paper is flipped over?
 Then, layer them on each other so the tops match.
 See how the foam strips fit together?  That's so the double layered card insert can fit.
To make the insert, cut a window sheet and a piece of Whisper White both at 3-1/8" x 5," then using Washi Tape, adhere them together at the top.  You first stamp the bottom image (jar outline, words, and fish).  On the front, only stamp the jar outline in Staz On Black ink while lining it up with the first outline on the bottom image.
Insert it into the card, separating the front into the front slot and the paper to the back slot.  The card closed will look like this:
 When you pull the tab, you will reveal the hidden image on the bottom card...MAGIC!!
Here's another version using the Thoughtful Branches stamp set.
 I used Cherry Cobbler, Crushed Curry and Early Espresso markers and "thumped" them on the stamp to randomize the trees.
 Here is a close up of the inside card.


Thank you for checking in!
Sharon


Sharon Lim
Stampin' Up! Independent Demonstrator #54149
Rubber Stamps and Accessories including Scrapbooking 

EMAILsharonitwithyou@gmail.com
CELL: (707)486-3500
PayPal.Me/SharonLim

Saturday, December 10, 2016

Origami Star Ornament

Hello,
I found this ornament and fell in love with it.  I used the Candy Cane Designer Series Paper (DSP) and could get 3 ornaments per sheet.  Here's a video of it in action.

First, I started a piece of 12X12 DSP and cut them into 3X3 squares.  I got 16 squares from each sheet. Take 15 of them and score them at 1-1/2" both horizontally, vertically, and diagonally. Save the 16th square for the ends later.
 Fold each square first diagonally, then horizontally, then vertically like the picture below.
 Your square should look like this:
 Squeeze the paper so it looks like this:
 You will need 5 squares for each ornament.
 Place adhesive on on side of the square.
 Lay the second square facing the same way until you get a design like this:
 Here is another view of the ornament.
 Place adhesive on one end and attach a 5-1/2" piece of ribbon and then cover with more adhesive.
 Cut the saved 16th square into four 1-1/2" squares and use 2 to cover up the ends.
 Here is one end completed.
 Repeat on the other end.
 Close up the ornament, fold the ribbon in half to thread a bead on, and then tie the end up in a knot.  This is what it should look like:
Here is the video again of the ornament in action:
Thank you for checking in!
Sharon


Sharon Lim
Stampin' Up! Independent Demonstrator #54149
Rubber Stamps and Accessories including Scrapbooking 

EMAILsharonitwithyou@gmail.com
CELL: (707)486-3500
PayPal.Me/SharonLim

Sunday, November 27, 2016

Gift Card holders with Hershey Kisses

Hello,
I was inspired by Kelly Acheson's post to make these for a craft fair I was participating in.  It is a gift card holder with room for Hershey kisses in the bottom.
Start with a piece of cardstock 9-3/4" X 7"
Score it first in Portrait orientation at 1" and 6"
Then, score it in Landscape orientation at 1/2", 1-1/2", 2-1/2", 3-1/2", 4-1/2" and 7"
Then cut so it looks like the picture below, making sure when you cut the tabs, you cut at an angle so the box ends form. 
Using the word window punch, fold the small tab under, then slide the punch from the side in order to punch the second side.
 Flip the cardstock over and then punch a half circle using the 1-1/4" circle punch.  Apply adhesive on the tab, and on the bottom and side away from the half circle.
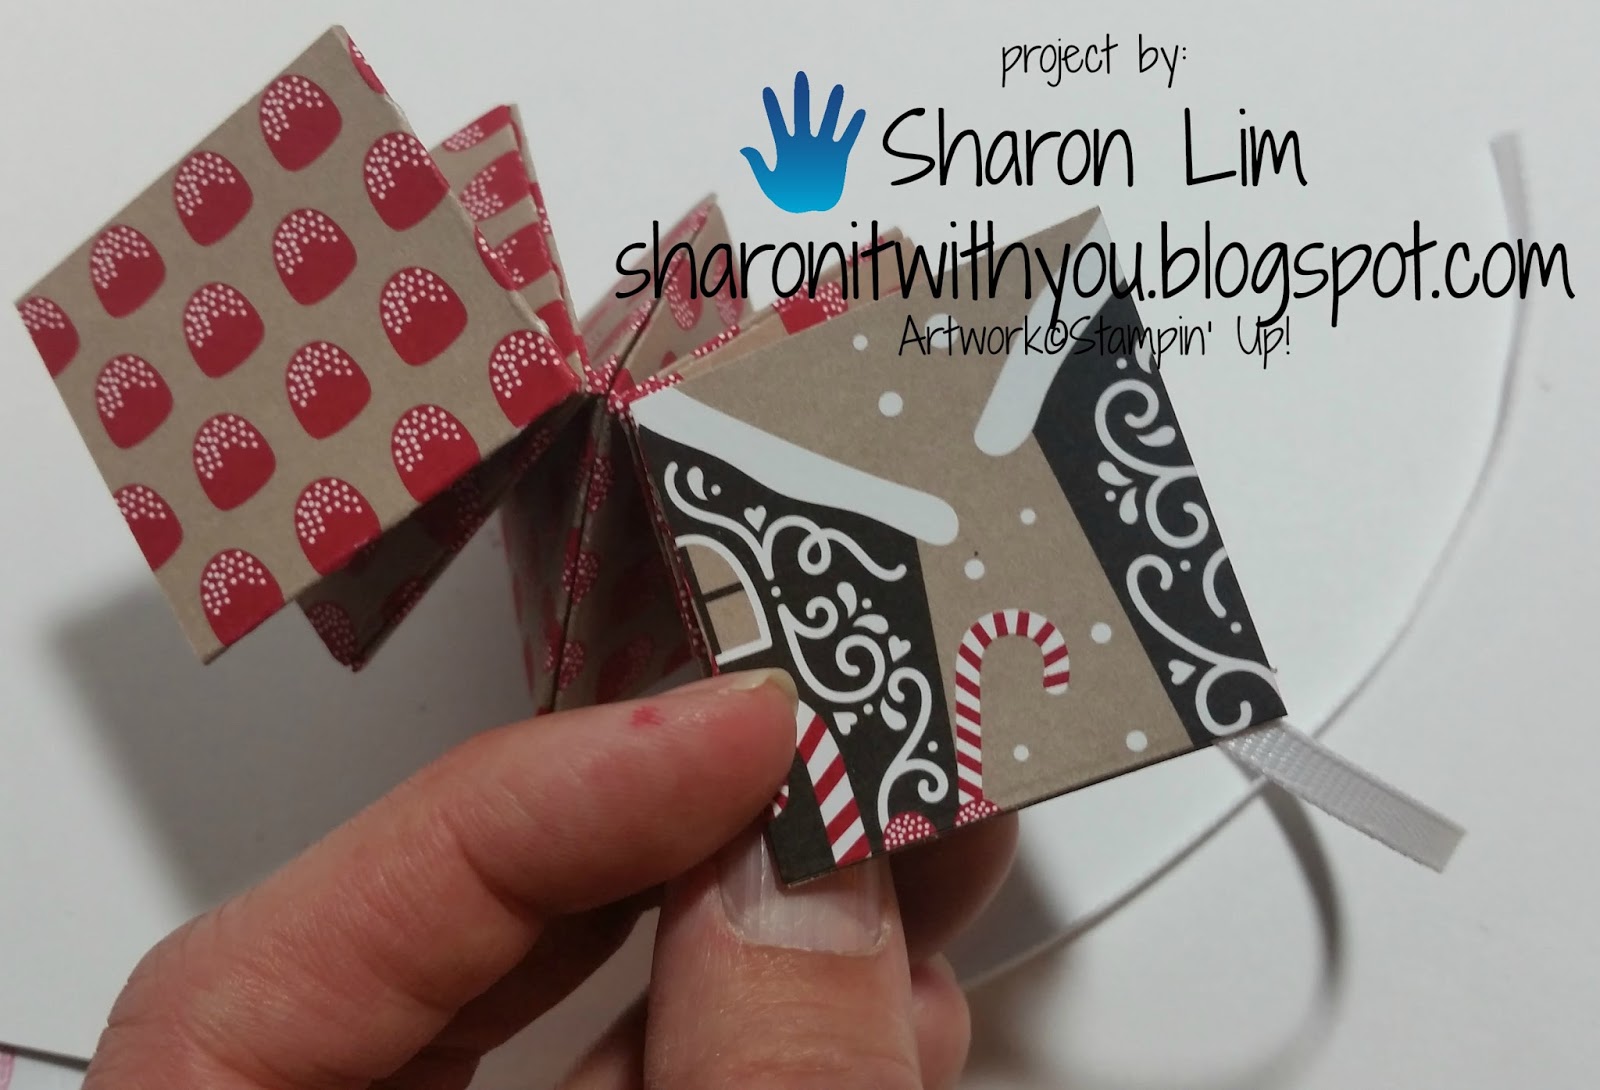
 Fold the top of the card first.
 Then, fold the box part over, and press flat.
 Then, pop open the box.
Take a piece that you cut off of the original cardstock and cut it to 5" and glue dot 5 Hershey Kisses to it in a row.
 Close and adhere the left side of the box closed, then slide the Kisses in and then close the right side of the box.
Using a Whisper White cardstock measuring 4-1/4" X 2-1/2 and decorate and adhere to the top of the card.  Tie a piece of ribbon around the box part of the card.
Thank you for checking in!
Sharon


Sharon Lim
Stampin' Up! Independent Demonstrator #54149
Rubber Stamps and Accessories including Scrapbooking 

EMAILsharonitwithyou@gmail.com
CELL: (707)486-3500
PayPal.Me/SharonLim