Inspired by a card I saw at a stamping meeting, I was sent this
video tutorial The tutorial shows how to make one with 1-1/2" blocks, I tried making one and it was so big, there was also a video to make an envelope to fit the card. I didn't want to make a card and then an envelope too, so I did some math and created one that used 1" blocks, but it seemed too small.
So, after a little MORE math, I ended up creating one with 1-1/4" squares.
The original one started out with cardstock 4-1/2" X 12" and you had to add a hinge, with glue. But once I went smaller, I was able to add an extra 1/2" on the length so that it could be used as a tab to hold it all together.
So, start with a piece of Wild Wasabi cardstock measuring 10-1/2" X 3-3/4" and score it at every 1-1/4" all the way down. Notice you will have all squares all over, and one 1/2" tab at the end of the long side.
Cut out this "T" shape starting out after the second square.
Then, cut along the line underneath the first and second squares on both sides.
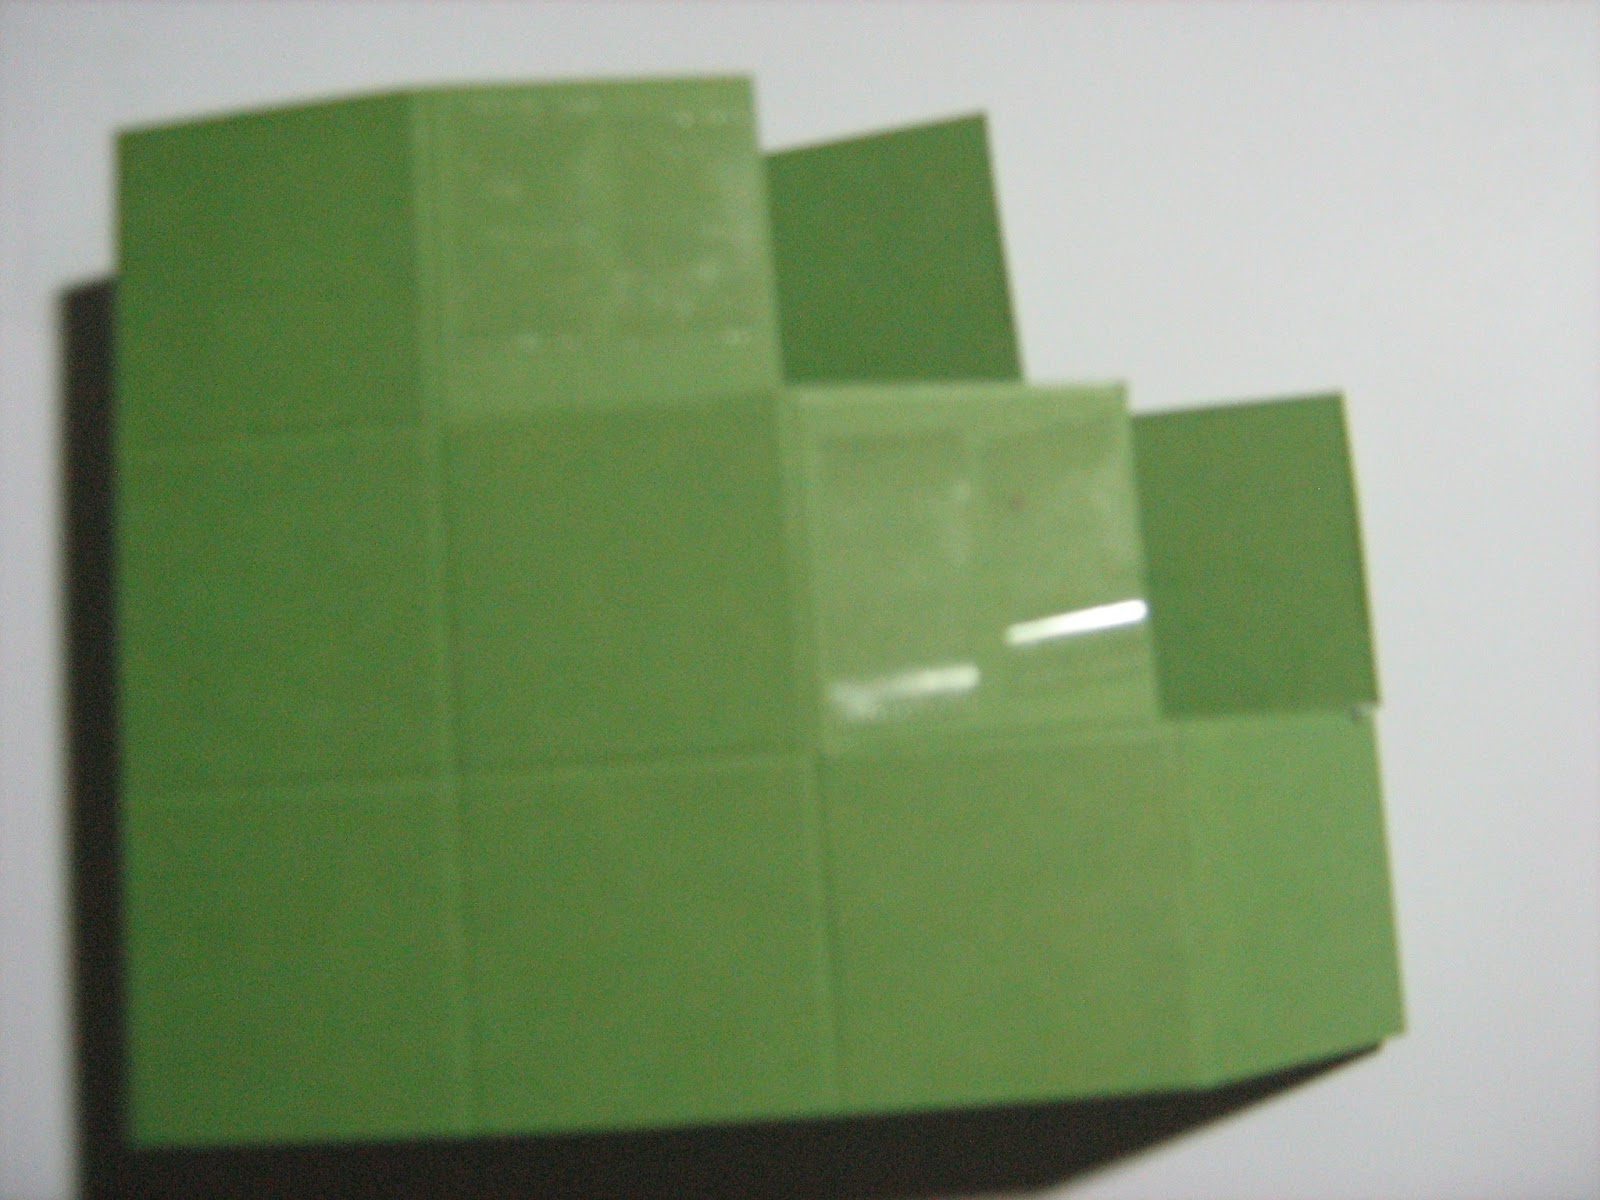
Fold along the 1/2" crease, the middle creases, and the last square, so it looks like this.
Apply adhesive along the 1/2" flap and fold it up.
Fold over the other side to land on the adhesive you just put on, the card should be flat.
Then, it should look like this and you can fold the tabs on the first and second levels.
Place adhesive on one side of the flaps and put the other side on top of the adhesive.
Now, your card looks like this, so cute, right?
Just for good measure, hold it down flat to make sure it will fit into your envelope. This size card will fit in a regular A2 envelope.
I took a 3-3/8" square So Saffron cardstock and ran it through the Mosaic Embossing folder, and then cut it into 1-1/8" squares, and kept them together like this.
I added some adhesive on each of the squares on the card, like this.
Only use these squares and transfer them onto the card accordingly.
TA-DAH! It looks like a tiled wall, right?
Then, I used a 3-3/8" square of Rose Red which is also embossed
and cut into 1-1/8" squares, keeping them together again
So, I could adhere them in the right arrangement.
Then, to embellish the So Saffron side, I decided to use the Mosaic punch to create a flower. Punch out 5 in Rose Red and a 1/2" circle of So Saffron.
I brought out my shaker frames and took one of the middle ones.
I put the ring down with the sticky side up and layered the punches.
I put the circle on a dimensional and then pushed it in with my finger to create a flower with more dimension.
I thought of the Shaker Frames after I made the sample, but I think it makes a difference.
Thanks for checking in!
Sharon
MAIL: lim5harona@gmail.com


No comments:
Post a Comment