Monday, May 26, 2014

Baby Box cards including a tutorial!!

I've seen a lot of these box cards and finally decided to try it.  The first one I tried was one that was larger than a standard card.  I finally found one that would fit in a greeting card envelope.
Here it is opened from the top view:
I used the Something for Baby set and matching Framelits and Itty Bitty Banners.
 Here it is from the other side:
This is how it looks when it is closed and flat.

Start with a 8-1/2" sheet of cardstock and score it at 2", 4", 6" and 8" on the 8-1/2"" side.
 Then, cut it in half at 5-1/2",and you can create 2 cards.
Take one of the sheets you just created and turn the paper to the short side and score it at 2-3/4".
Cut down on 3 of the lines to the center, you will have a small flap that you need to cut off on one side.
The tab left will be the one to hold your box together.  I used Sticky Strip to hold it together.
Fold it in half and adhere the flap so it lays flat.
Then, open it up and fold down the 3 flaps and leave the back standing up.
The panels measure 1-7/8" x 2-1/2".  You will need 4 matching ones for the bottom and 4 for the top.  
You will also need another strip for the long back  part that measures 1-7/8" X 5-1/4".

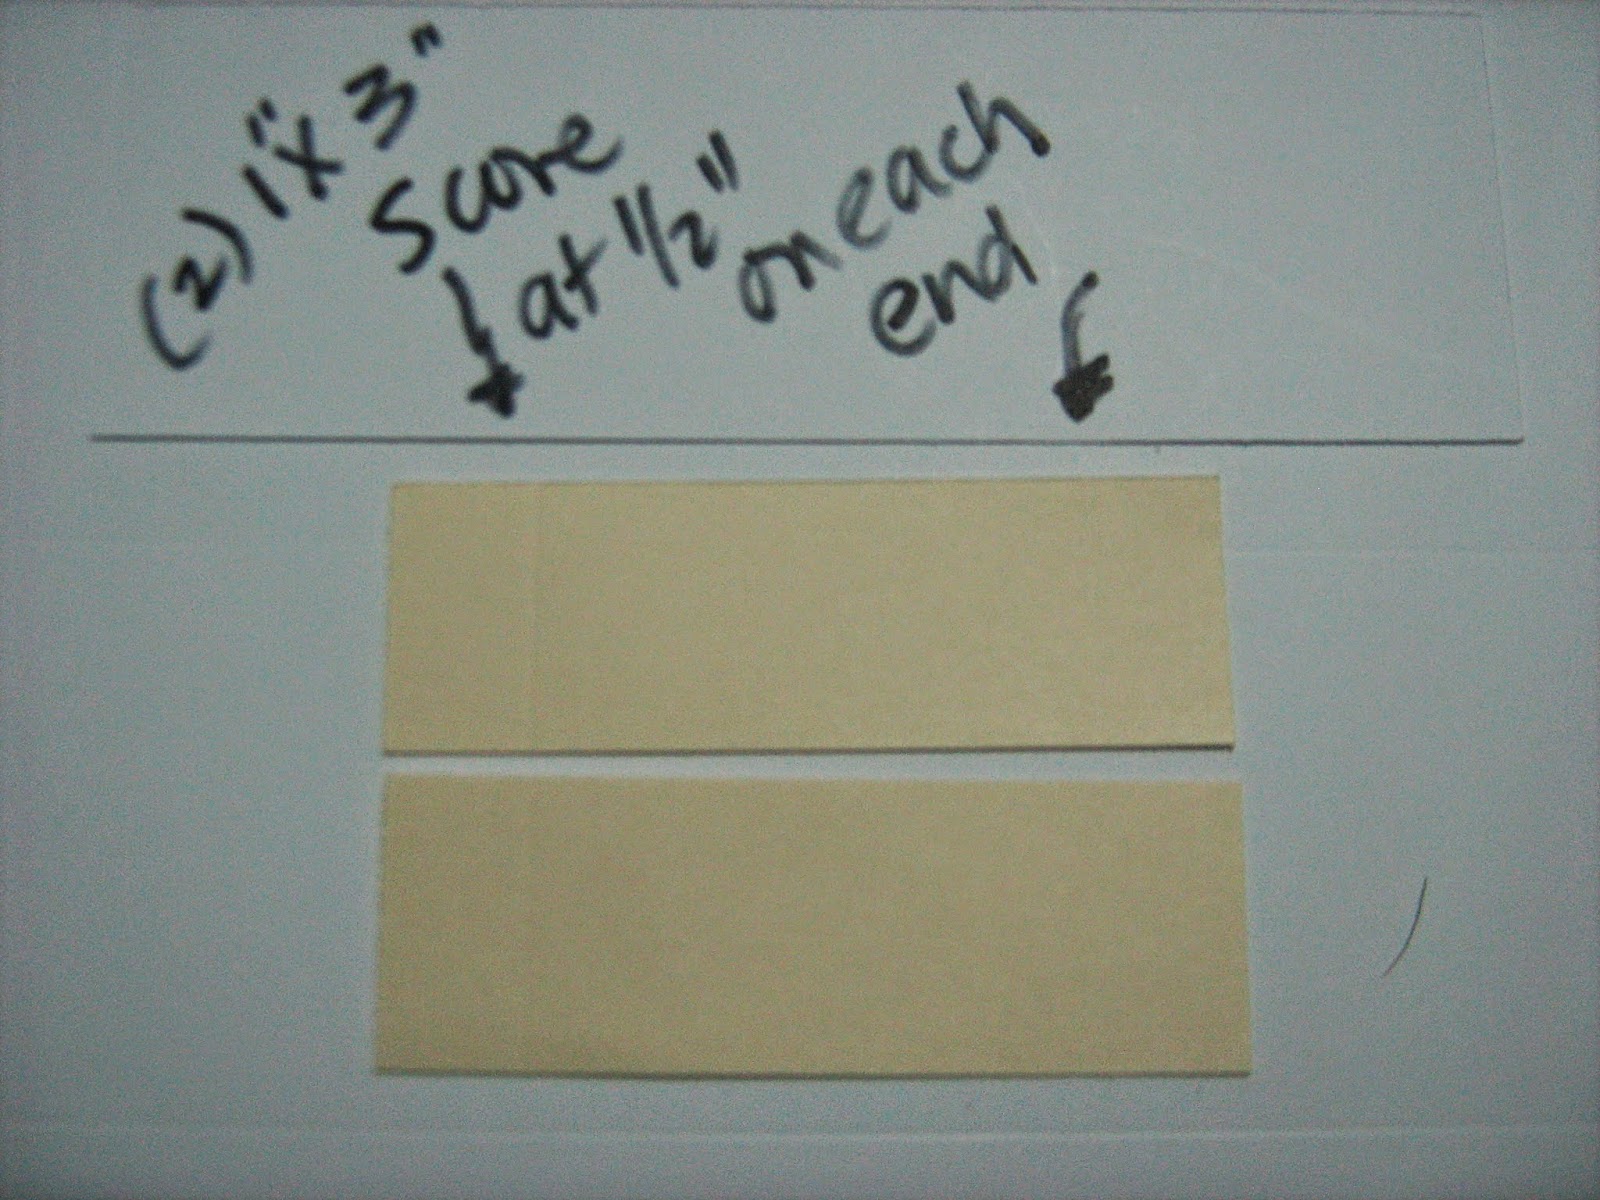
Cut a piece 2" X 3", score it at 1/2" on each side and then cut it in half so you end up with 2 flaps,
 Fold the flaps so they look like this:
 Adhere them to the inside of the box like this:
Because I used the Moonlight Designer Paper Stack, you will have lots of strips left over that I used to hold the Die Cuts to make them "stand up."
 Adhere them to the strips you just put in the middle and decorate the rest of the flaps.
 Top view:
 Side view:
I even did a graduation version in a previous blog post
Thanks for checking in!
Sharon
EMAIL: lim5harona@gmail.com

No comments:

Post a Comment