Saturday, February 16, 2013

This year's group card for my co-workers

Hello there!
I FINALLY finished all the cards for my group for their birthdays this year, a total of 23.  And with a new addition to the group, I need to make ONE more!
I'm in charge of my department's birthday cards every year (go figure!) and I try to get them all done at the beginning of the year and let our admin take care of distributint them.  Here is my first post about this, and the second post with many year's worth of group cards.
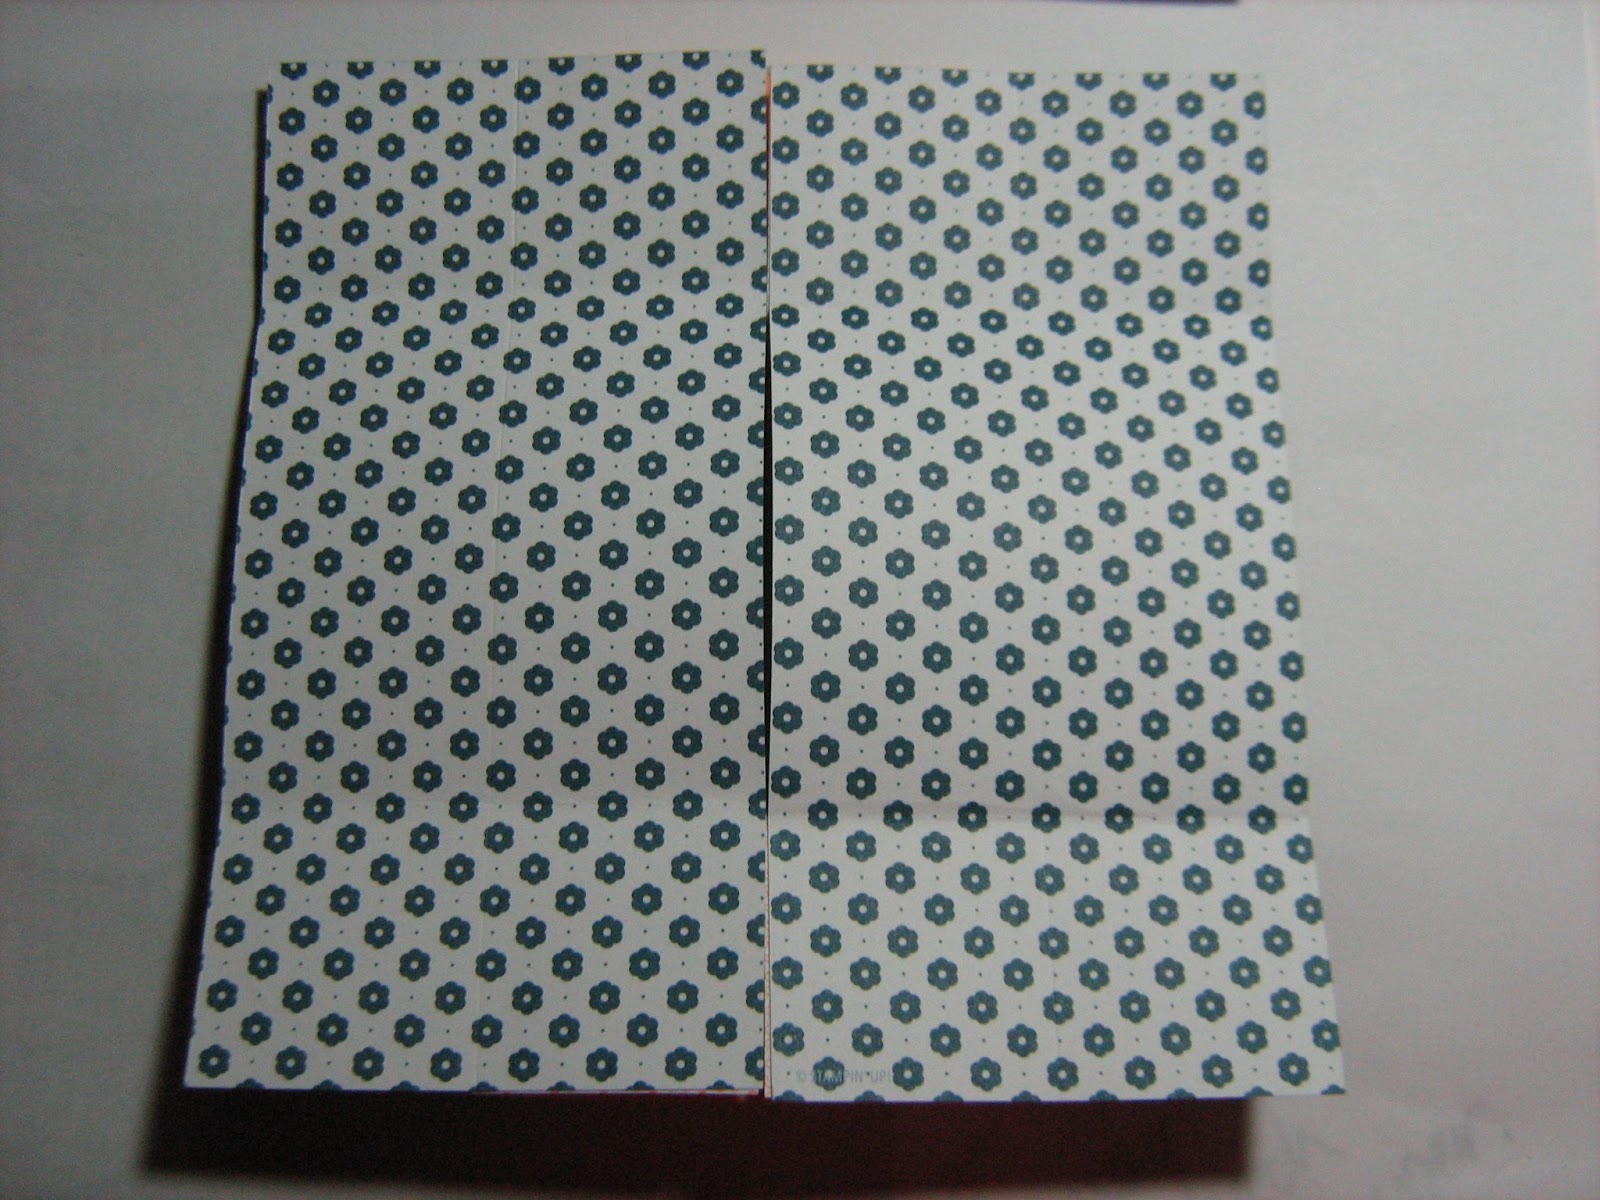
I decided to use the Never Ending Card, but do it to the max by using two 12X12 papers.
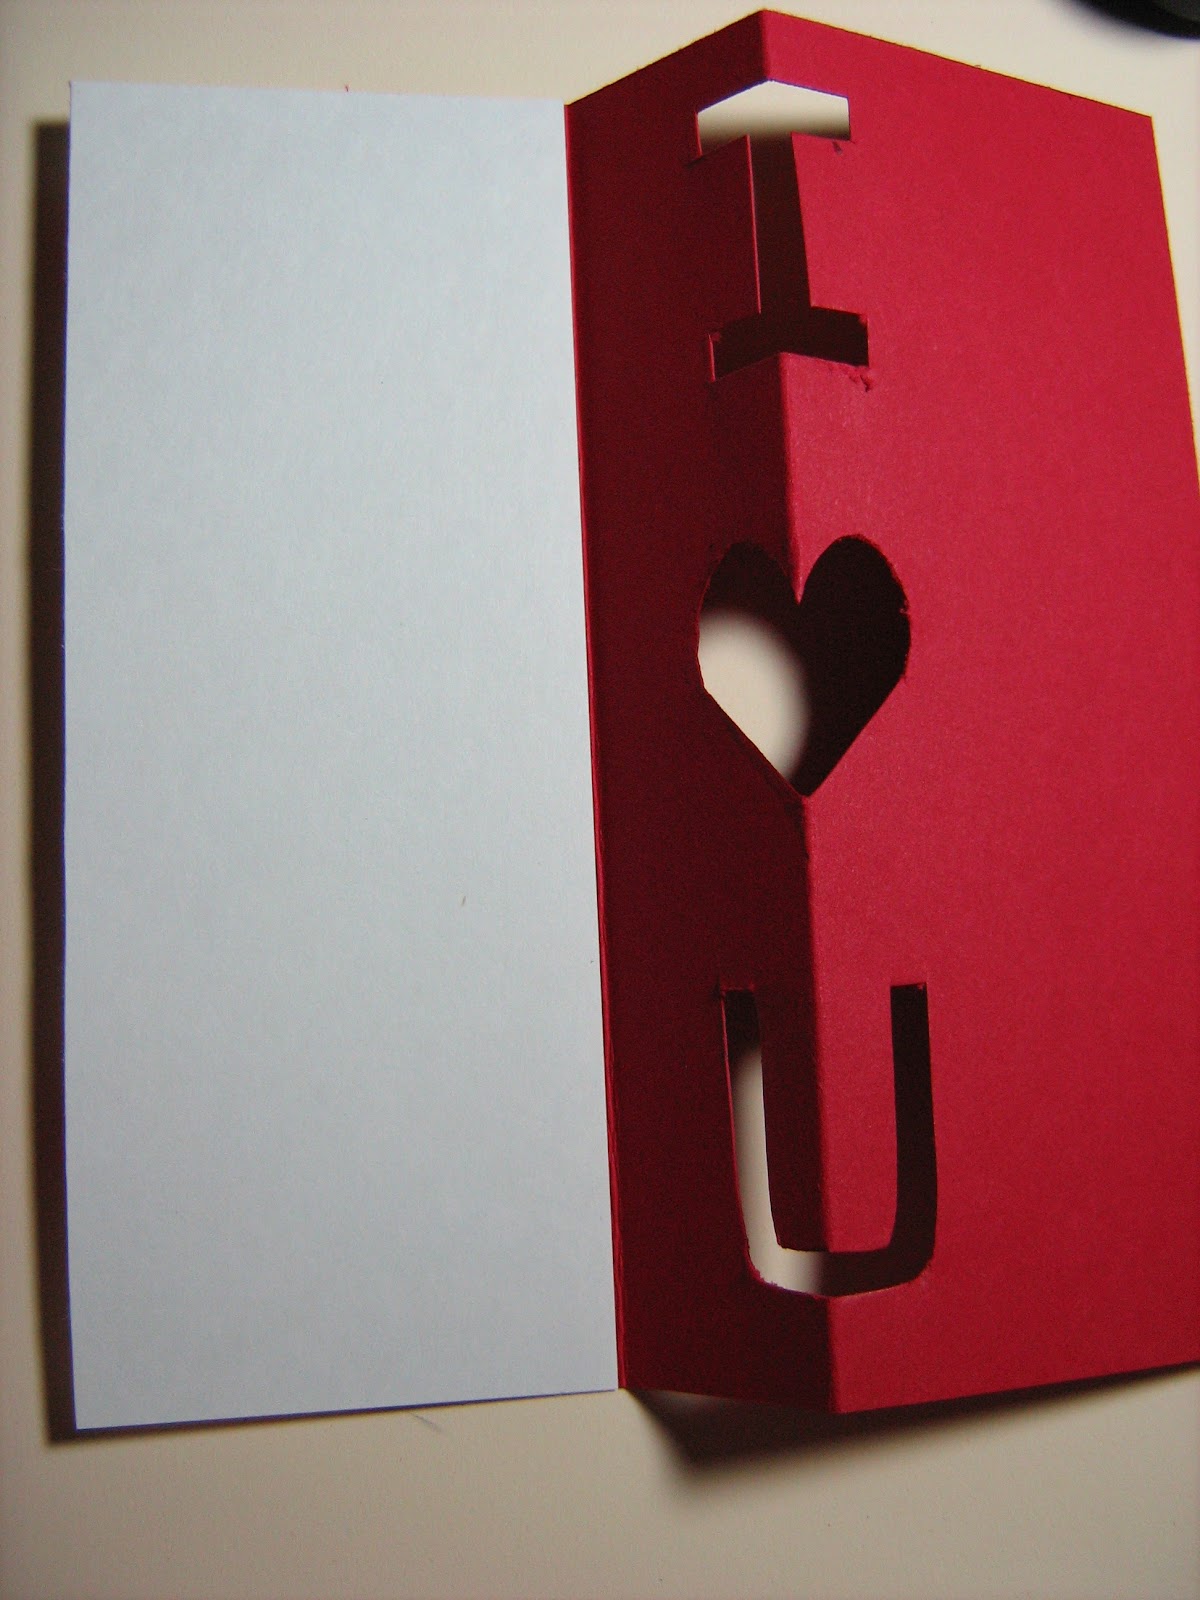
Here is the card and it flips open 4 times to showcase 4 "sides."
Here's the "front"
 Side #2
 Side #3
 Side #4

So, there are plenty of places to have the 23 people( oops, now 24!)  in my group sign the birthday card and the recipient can have a unique and special card to celebrate their special day.
How did I make it? Check out my previous blog post using 6X6 papers and use the following measurements.
I scored the 12X12 papers at 3" and 9" and cut in opposite ways on each paper.
Adhere the 2 sheets together just as the previous blog and fold each "opening" and use your bone folder to crease it well.
Thanks for checking in!
Sharon

Monday, February 11, 2013

Never ending cards...SO FUN!!!

I'm not sure when I first saw this card, but I fell in LOVE with the way it folds and flips. It technically has 4 different sides to it.
I will have the finished version on my next post where I showed my cards I make for my co-workers using 12X12 paper.
Below are 2 versions of tutorials, one for a 5-1/2" by 4-1/4" card and another for one that is 6" by 6".
TUTORIAL #1:
For the A2 card (5-1/2" by 4-1/4"), I started with 2 pieces of 5-1/2" by 4-1/4".  I used 2 different textured papers so you can tell the difference.
 Score one at 1-1/16" on both ends VERTICALLY and score the other one at 1-3/8" on both ends HORIZONTALLY.
 Then, cut them in half, the one you scored VERTICALLY at 2-3/4" and the one you scored HORIZONTALLY at 2-1/8".
 Then, apply adhesive on the corners only, using the score lines as your guidelines.
 Press on the top layer on the adhesive.
 This is what it looks like opened.
 Next opening looks like this:
 And the last opening is the back of the bottom paper.
So, this one took A LOT of math, and I LOVE math and all, but I LOVE easy math even better.
TUTORIAL #2:
Here's the 6"X6" version of the Never Ending Card.   Start with 2 pieces of 6"X6" paper.

 Score at 1-1/2" on both ends of both papers.
 Cut at 3" HORIZONTALLY on one and VERTICALLY on the other paper.

 Place adhesive on corners only, using the score lines as guidelines.
 Then, place the top layer on top of the adhesive, making sure the cuts are opposite.
 Here is the second "side."
 And, here's the third side.
 And here is the last side, the back of the bottom paper.  You can decorate each "side" uniquely.
So, what do you think?
Thanks for checking in!
Sharon

Sunday, February 10, 2013

I LOVE YOU card!

Just in time for Valentine's Day!
So, I saw this on Pinterest and thought, that's an awful LOT of cutting...I remembered a card I made YEARS ago, that I thought would be easier.

i heart u card
This is what it looks, closed up with a belly band.

So, I took two pieces of Whisper White, 4-1/4" X 5-1/2" and one 2-1/8" X 5-1/2."
  
I stamped the Got Love? from the Got Treats stamp set on page 51 of the Stampin' Up! catalog in Real Red on the edges of the paper.
Then, I took a piece of Real Red paper, 4-1/4" X 5-1/2", scored it at 2-1/8"  and at 1-1/16" on one side.
Fold the Real Red in half and I drew half of my message, so think half of an "I", half of a heart and half of a "U."  don't worry about it being perfect!

Cut out the letters and heart.  Save the heart for later!!!
This is what it will look like once you open it up. Don't forget to fold the last score line up.
Flip it over and place adhesive on the small part on the left and to the right of the letters only.
 Keep it upside down, and place the small piece of Whisper White, upside down, onto the left side.

 Flip the piece you just made over and place it on the larger piece of Whisper White, making sure both right sides line up.  Here's a top view.
So, open, it should look like this,

 And closed, it should look like this
The belly band is a 1" X 8-1/2," wrap it around your card. 
 Close it with the heart you cut out from the Real Red cardstock.


So, what do you think?
Thanks for checking in!
Sharon