Tuesday, March 26, 2013

More flip out scrapbooks!!!

I started making these flip out scrapbooks and posted the tutorial in a previous post.  I keep making more and more of them! Here's one I made for my sister Betty's boss who is retiring.  She needed a card for up to 20+ people to sign, and this is what I came up with.  Here it is closed.


Here is the front and back opened up.
Here's one I made for someone turning 21.  Here is it closed.


 Here is the front and back opened up.
 Here's another one with the green and brown theme.
I got an order for 14 more albums, so here are 4 more so far.  I took more pictures of the insides, but here are the covers. If you are interested in the whole album, I created one in Picasa HERE.


Thanks for checking in!
Sharon
EMAIL: lim5harona@gmail.com

Saturday, March 23, 2013

A Kleenex box get well card

Yet again inspired by Pinterest, I wanted to make this Kleenex box card.
I adjusted the original measurements to this:  Using a 6-1/2" 3-3/4" piece of DSP, score it at 1/2", 1-3/4", 3-1/2" and 4-3/4".

  1. Punch an opening with an oval punch on one of the wider sections. 
  2. Fold on all scores to form a box, and adhere together, using the 1/2" tab to hold it together.
  3. Then, adhere it to the center of an A2 card (5-1/2" X 8-1/2" folded in half). It should fold close.  
  4. Use a quarter of a tissue and make it stick out like it would in a real tissue box.  
Here are some of the ones I made.


Thanks for checking in!
Sharon
EMAIL: lim5harona@gmail.com


Friday, March 22, 2013

Ladybug Valentines!

I shared these on Facebook back in February and realized I never blogged about them.
Here are the ladybug valentines I made for my friend Naomi's daughter Ella.  I had made Ella's invitations for her birthday party in this previous post.
Here is the Valentine closed.

Here is the Valentine opened.

Here are all 24 of them done.

And Naomi also wanted gift card holders for the teachers. Here is the gift card holder closed.

Here is the gift card holder opened.


Thanks for checking in!
Sharon
EMAIL: lim5harona@gmail.com

Monday, March 11, 2013

Flip out scrapbook

Inspired by Pinterest, once again! I saw this Fold Up Scrap Album and had to make it!
Fold Up Scrap Album
Remember this box corner pop up card? I blogged about it in this post.

Photo
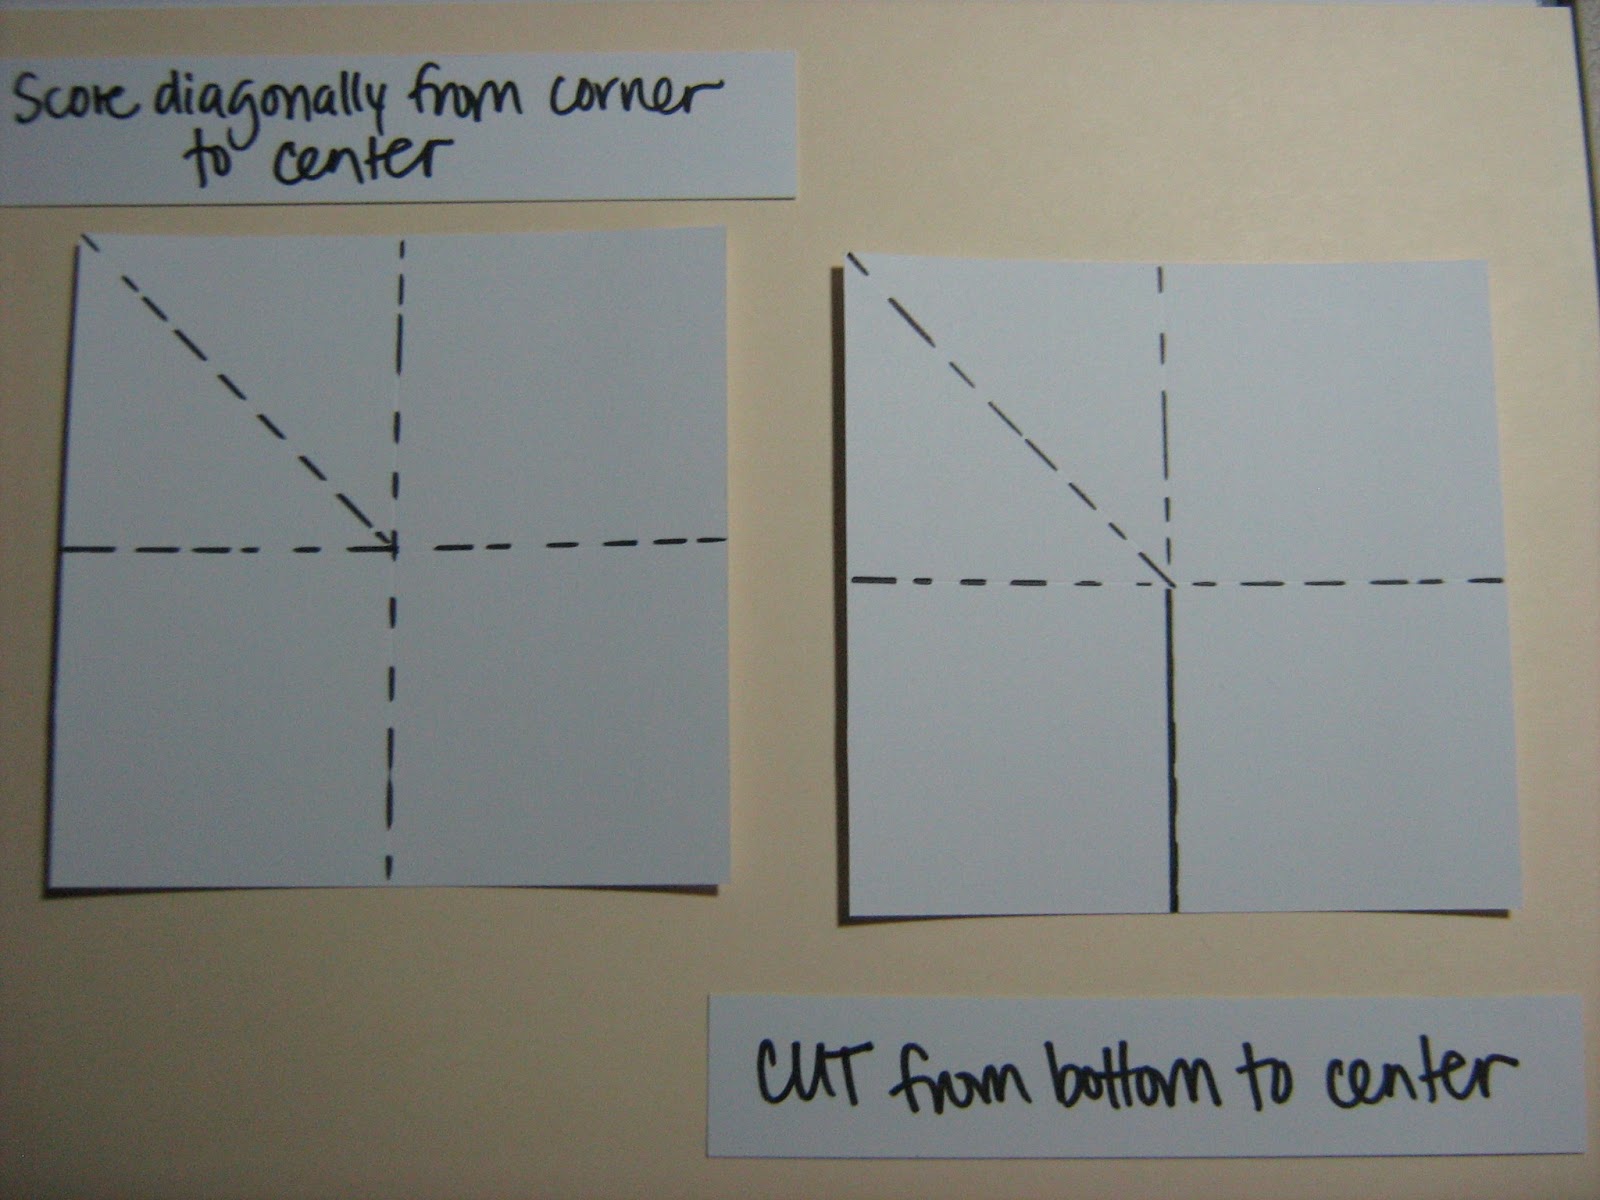
Instead of making this 4"X4" card, you use 4 12"X12" papers and with each one, you score at 6" on both sides so you make a "T."
Then, use your diagonal score and score from the top left corner to the center.  Next, cut from the bottom to the center only.
 Then, fold in all the straight lines
 And then fold on the diagonal line.
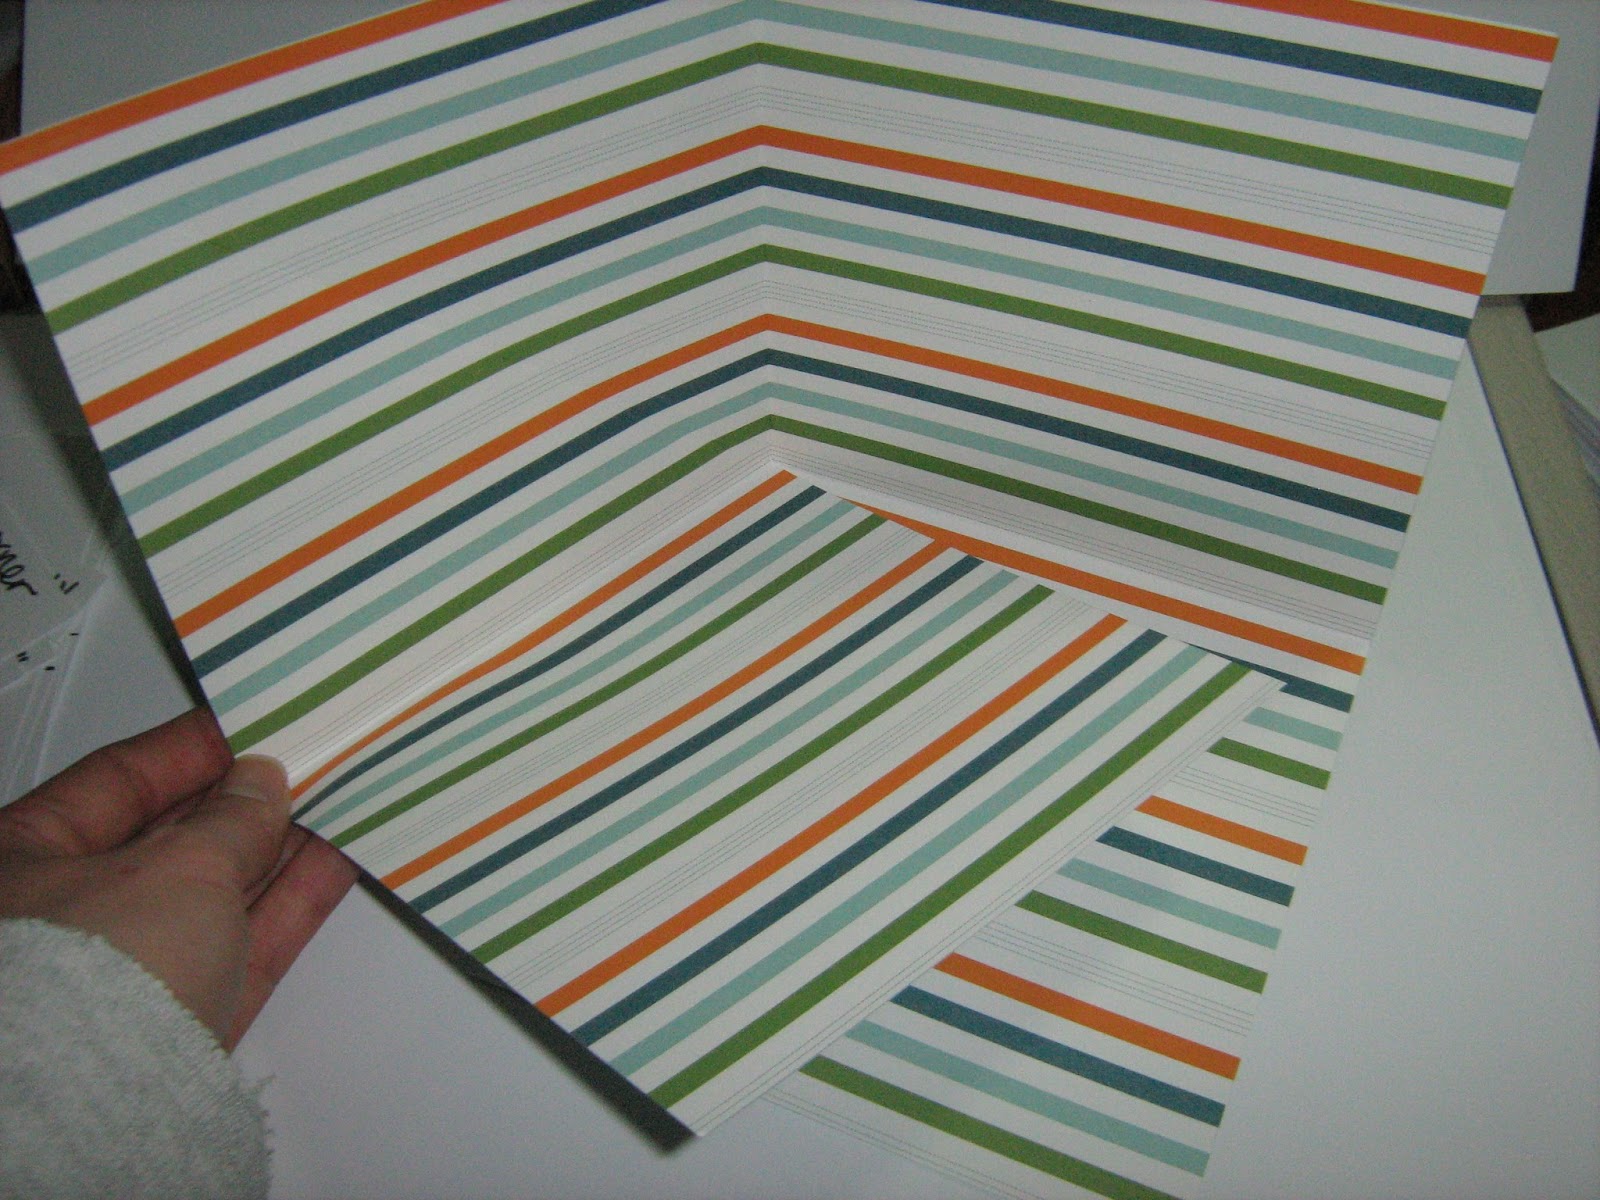
 And tuck in one of the squares under the other square.
Flip it so the diagonal side is on the bottom and you will get something like this:
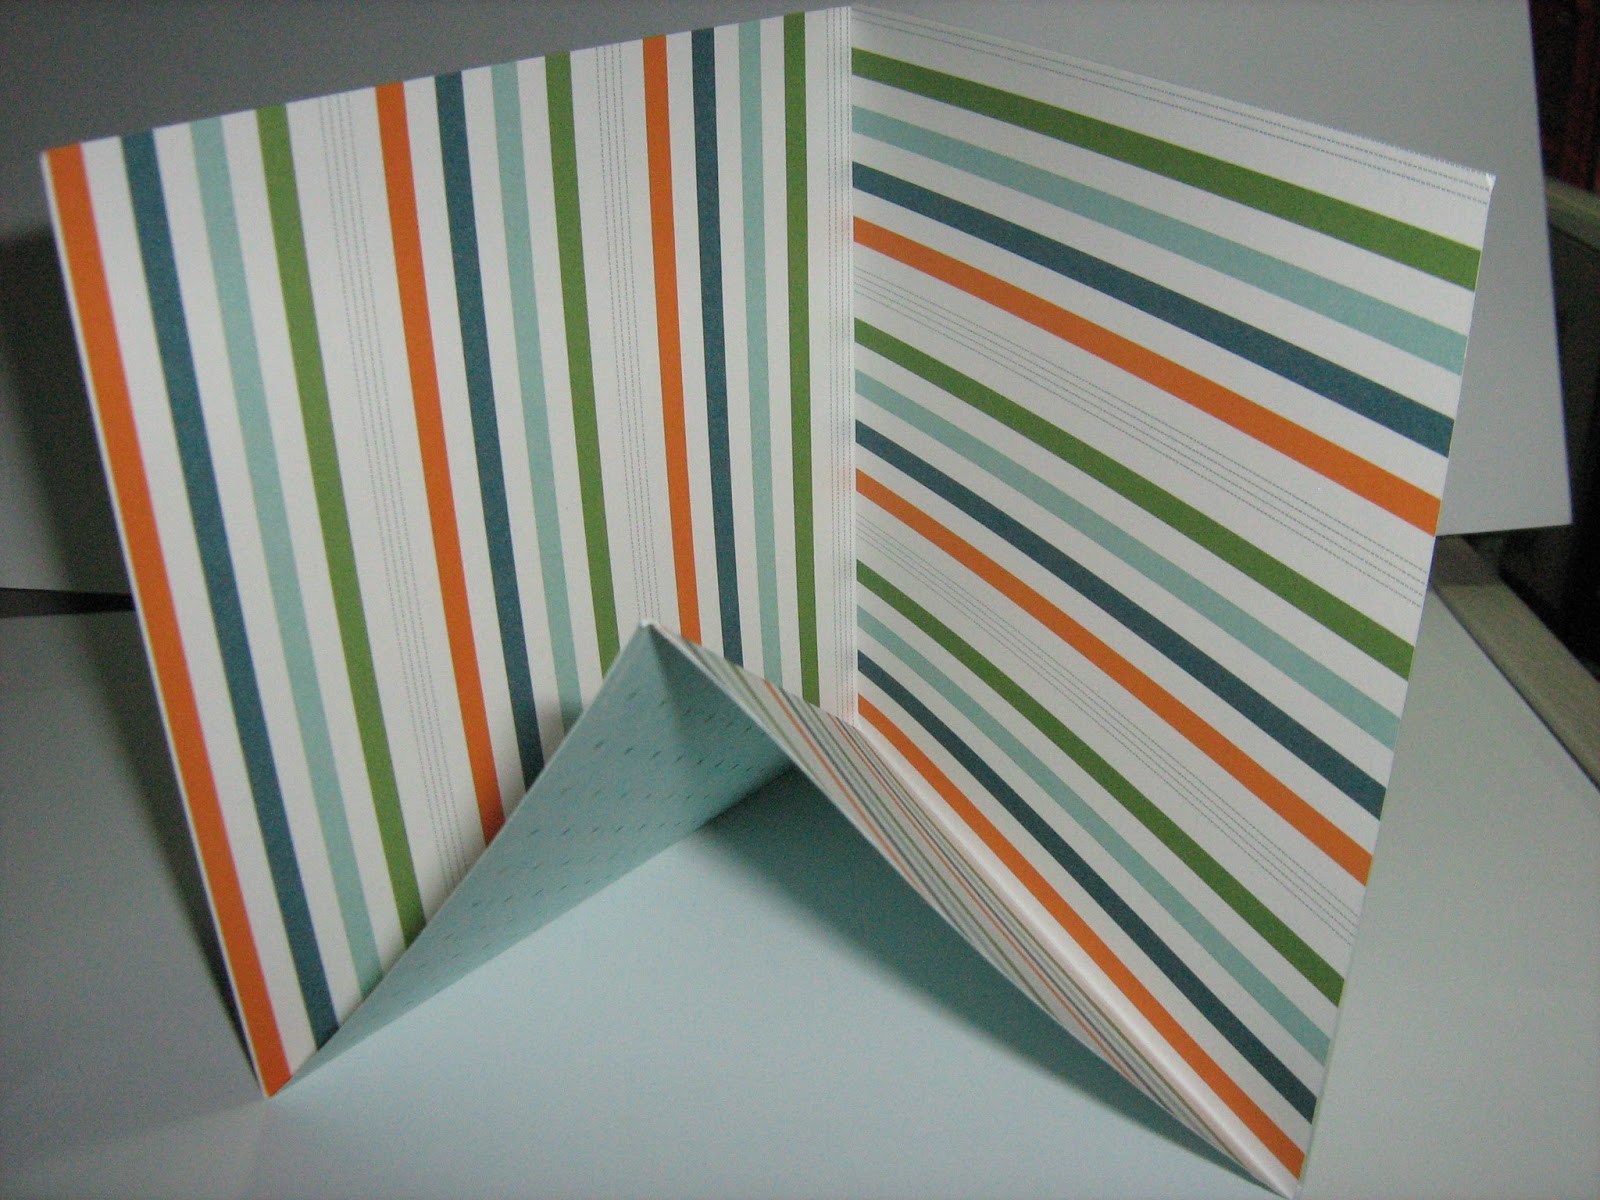
Stack them together like this, I used 2 different pieces of DSP (Designer Series Paper) and alternated them.
 Hold it so that there are extra flaps laying down on both the front and back of the album.
 Use some ribbon about 15" and fold it in half and hide it behind the extra flap, using Sticky Strip to hold it down.
 Then, adhere the extra flap down on the front and the back of the album.
 This is what the "spine" of the album looks like:
 Adhere all the squares together, then all the four sections to each other.
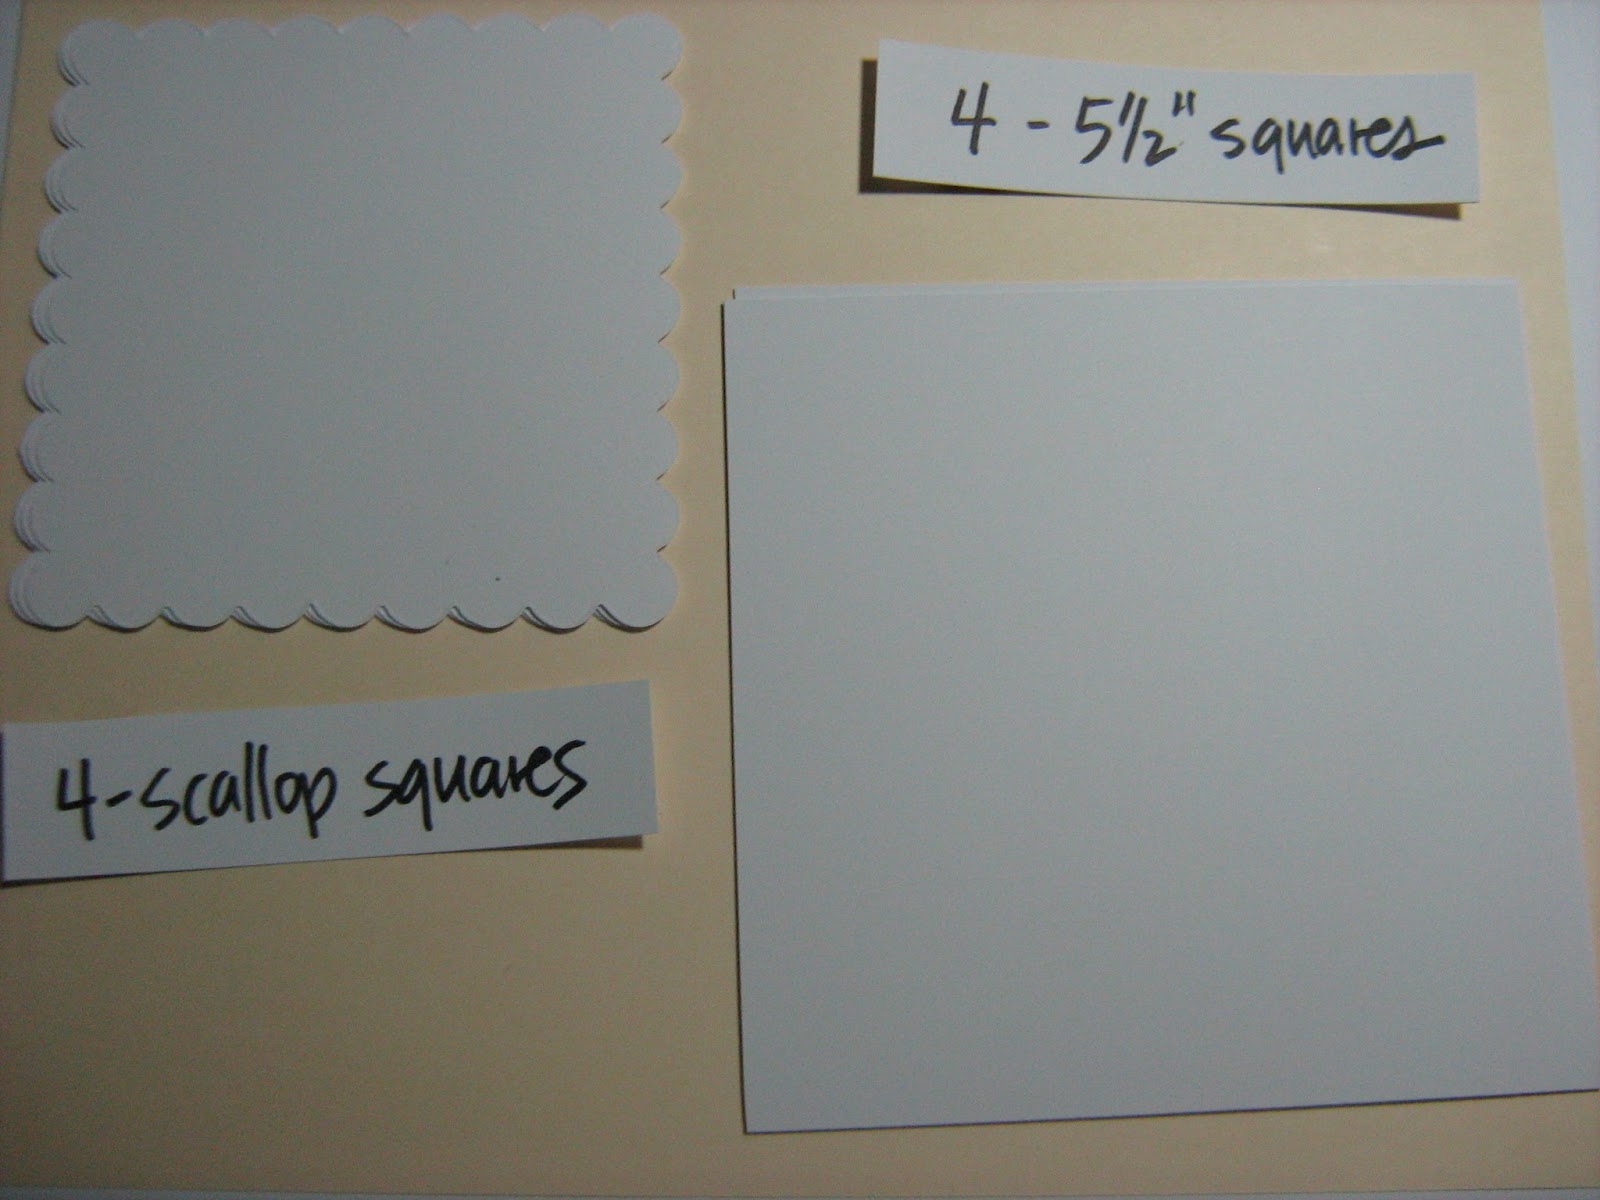
To decorate the pages, you will need the following:
  • 4 Scallop squares of 4 Top Note dies
  • 4-5-1/2" squares
  •  4-5" squares cut diagonally
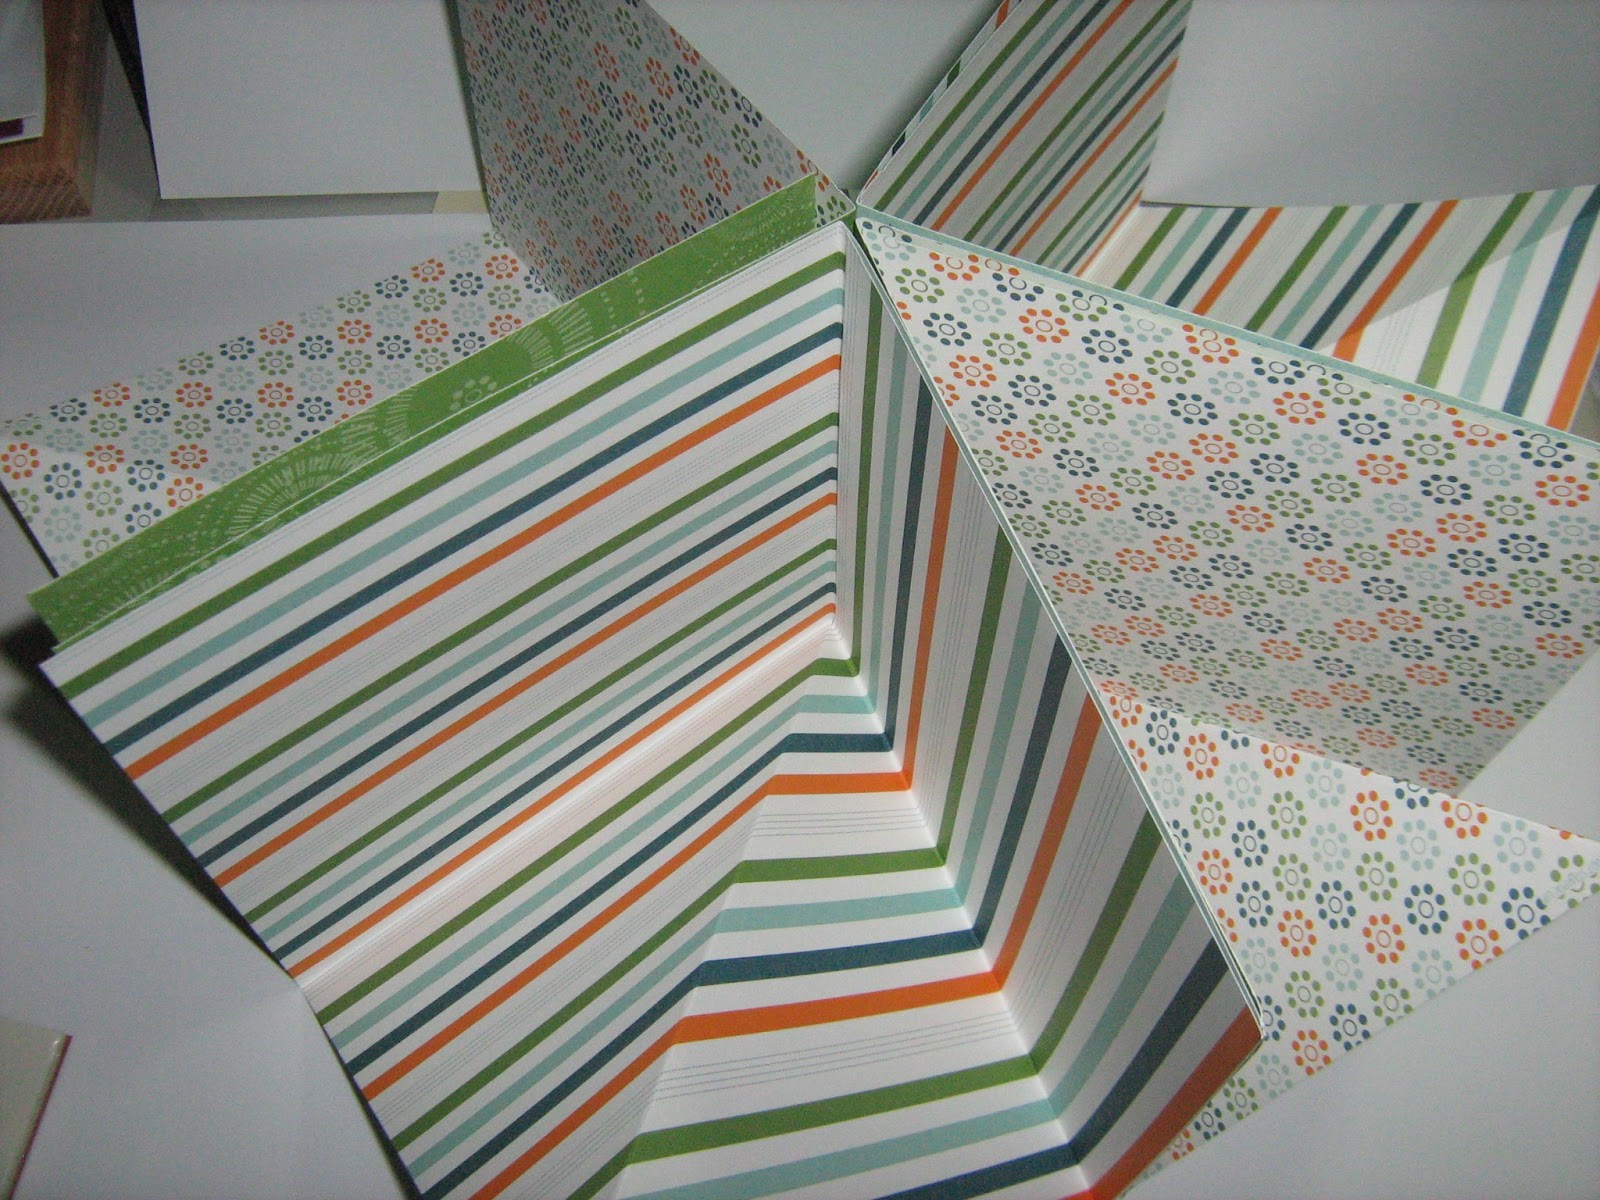
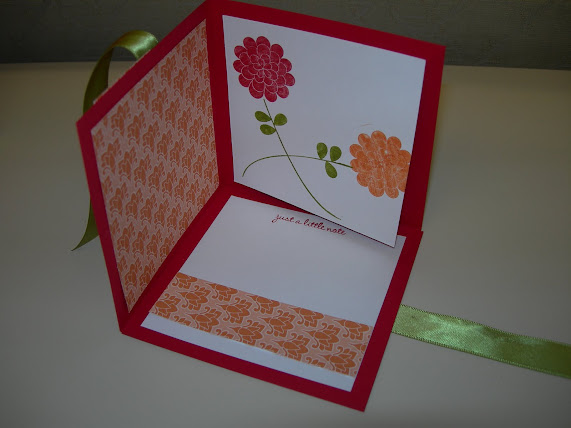
 Decorate as you wish.  Here are the four sections.
 Here are the back and front of the album:
Here are 2 more albums I made, a pink and brown number...


And another album for a co-worker who is leaving to be a SAHM (Stay at Home Mom)  Good Luck Erica!!!
This is the album opened.
Here's a top view of the album.
Here is the back and front view of the album:
I'm addicted to these!  I can't stop making them!!! Here's one I made for a friend that has a grandson who had a jungle themed nursery.


 Here are the punch animals close up, the lion
 the giraffe,
 and the monkey.
Thanks for checking in!
Sharon