Sunday, September 30, 2018

Wedding Invitations

Hello,
I was asked to make some wedding invitations for Dolly and Derek's niece.  
Here is the Pinterest inspiration that Dolly found that the bride to be really liked.  

She wanted something simple. I cut the paper, Dolly printed the words and ordered the envelopes, and I assembled them all.
I had 2 different background papers, one darker and one lighter, and the bride chose the one on the right.
 

How do you think we did?
Here are the 64 invitations in a box ready to deliver to the bride.


Thank you for checking in!
Looking forward to sharing more with you next time.
Sharon


Sharon Lim
Stampin' Up! Independent Demonstrator #54149
Rubber Stamps and Accessories including Scrapbooking 

EMAILsharonitwithyou@gmail.com
CELL: (707)486-3500
PayPal.Me/SharonLim

Saturday, August 18, 2018

Diagonal Gate Fold Card

Hello,
I have a card to share with you.  I was truly intrigued with this card.  
It's called a Diagonal Gate Fold Card.  I saw it on Dawn Griffin's website.
I even made my VERY first video tutorial making this card. 

Check it out here:  

I used the Fresh Florals DSP(Designer Series Paper) with the matching cardstock.  Here is the Lemon Lime Twist version.
This is the card open. 
 This is the Powder Pink version closed.
 This is it open.
You start with a piece of cardstock measuring 5-1/2" X 8-1/4" and score it at 2-3/4" and at 5-1/2"
 Then, cut 2 pieces of DSP measuring 2-1/2" X 5-1/8" and the cut it in half diagonally.  I cut both pieces at the same time.

 You flip one over to take advantage of the double sided paper.
 Then, score diagonally on the first and third section of the card going from the top left to the bottom right.
 This is how it looks after you score and fold.
 Then, you adhere the first set of DSP. on the outside.
 Next, you flip the card over and adhere the other pieces of DSP here.
 When you fold it again, this is what it looks like.
 Then, cut a piece of paper measuring 2" X 4-5/8" and stamp it with your sentiment and only adhere to one side.
 Also, cut another piece of Whisper White cardstock measuring 2-3/8" X 5-1/4" for the inside of the card.
 Here is the finished project.
Thank you for checking in! 
Looking forward to sharing more with you next time.

Sharon


Sharon Lim
Stampin' Up! Independent Demonstrator #54149
Rubber Stamps and Accessories including Scrapbooking 

EMAILsharonitwithyou@gmail.com
CELL: (707)486-3500

PayPal.Me/SharonLim

Tuesday, July 31, 2018

Why are my Rice Krispy Treats so THICK?

Hello,
Who has had some of my RICE KRISPY TREATS?

I had someone asked me why my Rice Krispy Treats are so thick? I didn't know how to answer.  
So this is how I make them.  I call it my dump recipe because I use a whole bag of marshmallows, a whole box of cereal and half a stick of butter.
Check out my old post here:  My Very Own Rice Krispy Treats Recipe.
Then, I realized, it's how I remember similar Chinese treats from my childhood.  
Check out this video I found on how THEY make them in China!! You think mine are THICK?!!!  And the ACTUAL popping of the rice!!! SO COOL!!
Thank you for checking in!
Looking forward to sharing more with you next time.

Sharon


Sharon Lim
Stampin' Up! Independent Demonstrator #54149
Rubber Stamps and Accessories including Scrapbooking 

EMAILsharonitwithyou@gmail.com
CELL: (707)486-3500
PayPal.Me/SharonLim

Monday, July 16, 2018

Playing with Stampin' Blends

Hello,
I was playing with the Stampin' Blend markers and wanted to show you how they work and what result you get when you color with them.  
The Stampin' Blends are alcohol based markers that truly blend together to give you great artistic results.  They come in a set of 2 markers, one light and one dark, and they have 2 different tips, one fine and one broad.
Here is the finished card.

First, you stamp the image from the Amazing You stamp set with the black Memento Ink pad.
Then, I colored the center with the dark shade of the Daffodil Delight marker.  Next, I highlighted the darker areas with the dark shade of the Calypso Coral marker.
 Using the light shade of the Calypso Coral marker and I colored in the petals one at a time, blending the colors together.
You can see how the colors blended.  I was unsure of the look, but then I waited to see what would happen as the ink dried.
And this is what the flower looks like after the ink dried.
So, what do you think of the Blends?  
Here I played with some other colors:  Bermuda Bay, Pool Party, Night of Navy and Rich Razzleberry, Pumpkin Pie, Pink Pirouette, Cherry Cobbler, and Daffodil Delight.
Do you have a favorite color blend?
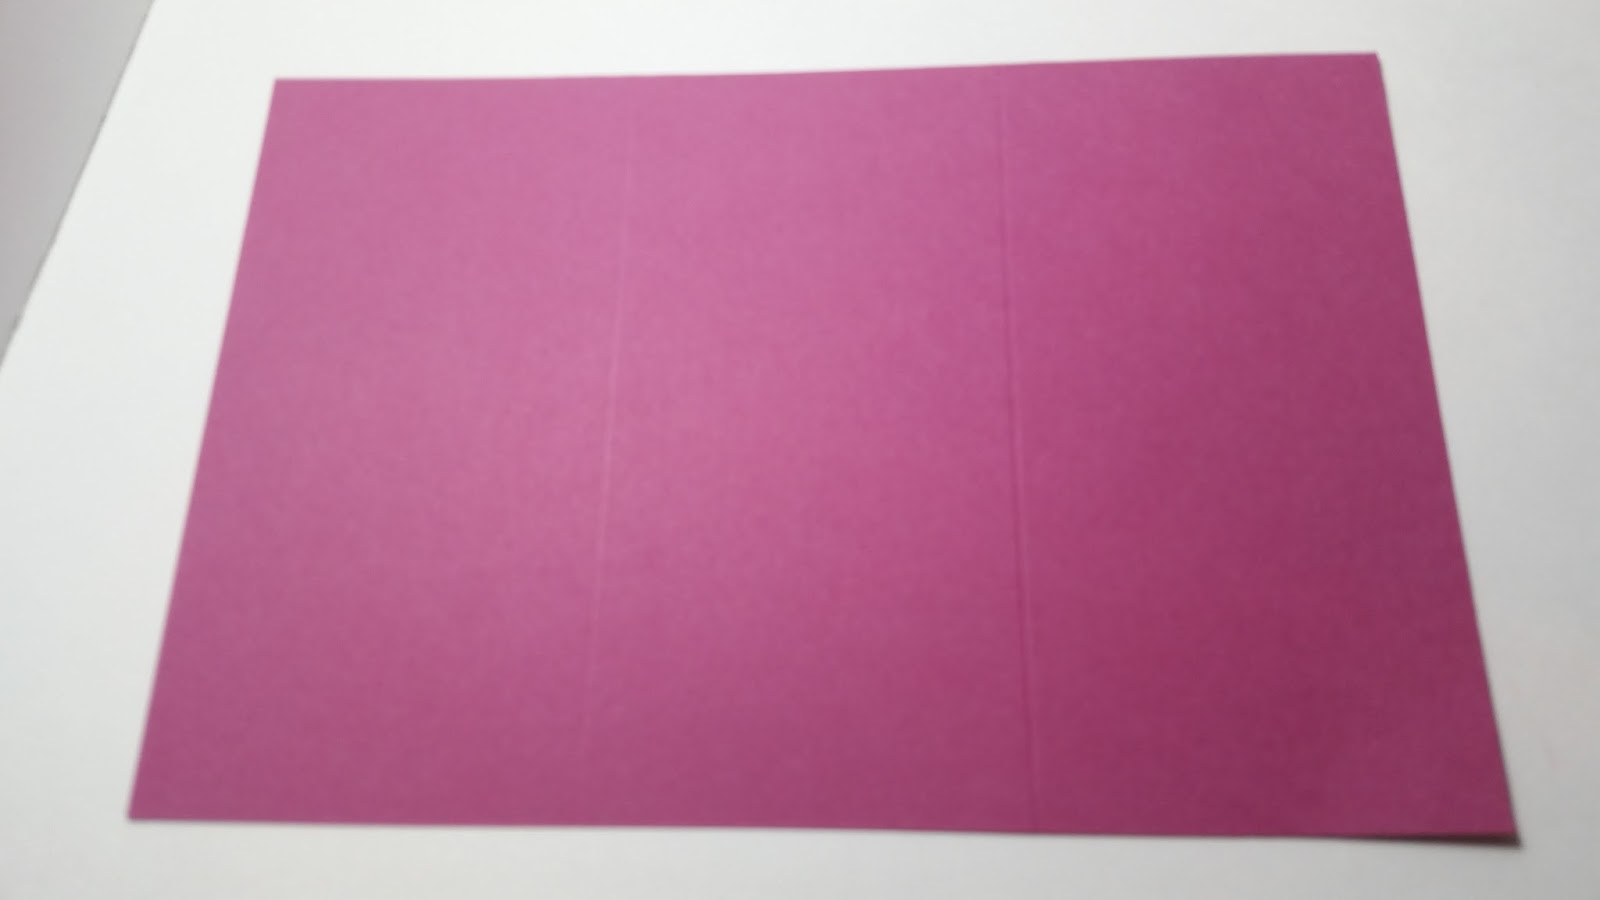
Keep in mind that the ink does leak through the paper, so make sure you have some paper on your crafting table.  This is what the other side of the paper looks like.
This is the finished card again.  
I used the "Ruffled" embossing folder in Daffodil Delight cardstock for the background and cut out "celebrate" with the framelits in Basic Black and stamped the "you" in Calypso Coral.
Thank you Kim Mosher for lending me her Blends!!
And check out my previous post I posted earlier about making my first box to hold the whole collection of Blends for Kim.  Here is my second box I made for Linda's Blends.


Thank you for letting me share this with you!
Sharon


Sharon Lim
Stampin' Up! Independent Demonstrator #54149
Rubber Stamps and Accessories including Scrapbooking 

EMAILsharonitwithyou@gmail.com
CELL: (707)486-3500
PayPal.Me/SharonLim

Thursday, July 12, 2018

Mary's Retirement favors and card

Hello,
I was asked to make some favors for Mary's Retirement from the Daily Republic.  My sister Carol asked me to make "Retire Mints!"
She worked there for 40 years!!!  Here is a picture of Mary on her last day of full-time work.
I made her a "MARY" card with her name on it and blue butterflies. It's made of envelopes I adhered together and decorated into a banner.  See it on her desk?
Mary LOVES blue butterflies!!!!
Here are the front of the Tic Tacs.
Here are the back sides. Get it?  "Retire Mint?"
Thank you for checking in!
Looking forward to sharing more with you next time.


Sharon


Sharon Lim
Stampin' Up! Independent Demonstrator #54149
Rubber Stamps and Accessories including Scrapbooking 

EMAILsharonitwithyou@gmail.com
CELL: (707)486-3500
PayPal.Me/SharonLim

Saturday, July 7, 2018

Baby Shower Decorations

Hello,
My friend Dolly was hosting a baby shower and I helped her with some of the items.  Here are the backdrop, diaper cake and favors.
The design was all Dolly, and we executed it together.  I think we make a great team!!
 Here is a close up of the diaper cake.

This was the inspiration Dolly found on Pinterest. How do you think we did?
Thank you for checking in!
Looking forward to sharing more with you next time.
Sharon


Sharon Lim
Stampin' Up! Independent Demonstrator #54149
Rubber Stamps and Accessories including Scrapbooking 

EMAILsharonitwithyou@gmail.com
CELL: (707)486-3500
PayPal.Me/SharonLim

Sunday, June 17, 2018

I had a wonderful Stampin' Up! Open House-Jun 2018

Hello,
I had a great Open House yesterday to showcase some new items from the new 2018-19 Stampin' Up! catalog. 
Here are the new sets of DSP (Decorative Series Paper). They are double-sided papers that are wonderfully designed with vibrant colors and images.
From the top left, Tranquil Textures, Share What You Love, Garden Expressions, and Nature's Poem.
The box on the bottom right is filled with Stampin' Up! Blends, alcohol based markers that are great to color in stamped images. Look out for a future post on how to use the Stampin' Up! Blends.
The first card uses Dandelion Wishes.  I used 3 different blocks using these three ink colors: Grapefruit Grove, Pineapple Punch and Calypso Coral as background, then stamped the dandelion with Memento Black Ink.
 This one I embossed with Versamark and white embossing powder and accented it with Whisper White Polka Dot Tulle ribbon.
 The next two cards use the Share What You Love DSP and the the Love What You Do stamp set.

 These cards used the Varied Vases stamp set along with the matching punch. I colored the flowers with the Stampin' Write markers.

The last one uses the new Thank You Thinlits. I use the Happy Birthday one so much, I was thankful for a Thank You one!!!
Let me know which card is your favorite.

Thank you for checking in!
Looking forward to sharing more with you next time.
Sharon


Sharon Lim
Stampin' Up! Independent Demonstrator #54149
Rubber Stamps and Accessories including Scrapbooking 

EMAILsharonitwithyou@gmail.com
CELL: (707)486-3500
PayPal.Me/SharonLim

Thursday, June 7, 2018

Paper flower arrangement

Hello,
I was asked to create a flower arrangement for someone who works in an area where they don't allow living plants and real flowers.  So this is what I came up with.
I had lots of fun making the paper flowers, I used some dies I had, wooden skewers that I covered with floral tape and attached paper leaves.  I also cut out some butterflies and coiled some floral wire to make it "bouncy."
Here's a close up of some of the flowers.
I even made daisies and roses.
Which one is your favorite flower?
Thank you for checking in!
Sharon


Sharon Lim
Stampin' Up! Independent Demonstrator #54149
Rubber Stamps and Accessories including Scrapbooking 

EMAILsharonitwithyou@gmail.com
CELL: (707)486-3500
PayPal.Me/SharonLim