I will have the finished version on my next post where I showed my cards I make for my co-workers using 12X12 paper.
Below are 2 versions of tutorials, one for a 5-1/2" by 4-1/4" card and another for one that is 6" by 6".
TUTORIAL #1:
For the A2 card (5-1/2" by 4-1/4"), I started with 2 pieces of 5-1/2" by 4-1/4". I used 2 different textured papers so you can tell the difference.


Press on the top layer on the adhesive.

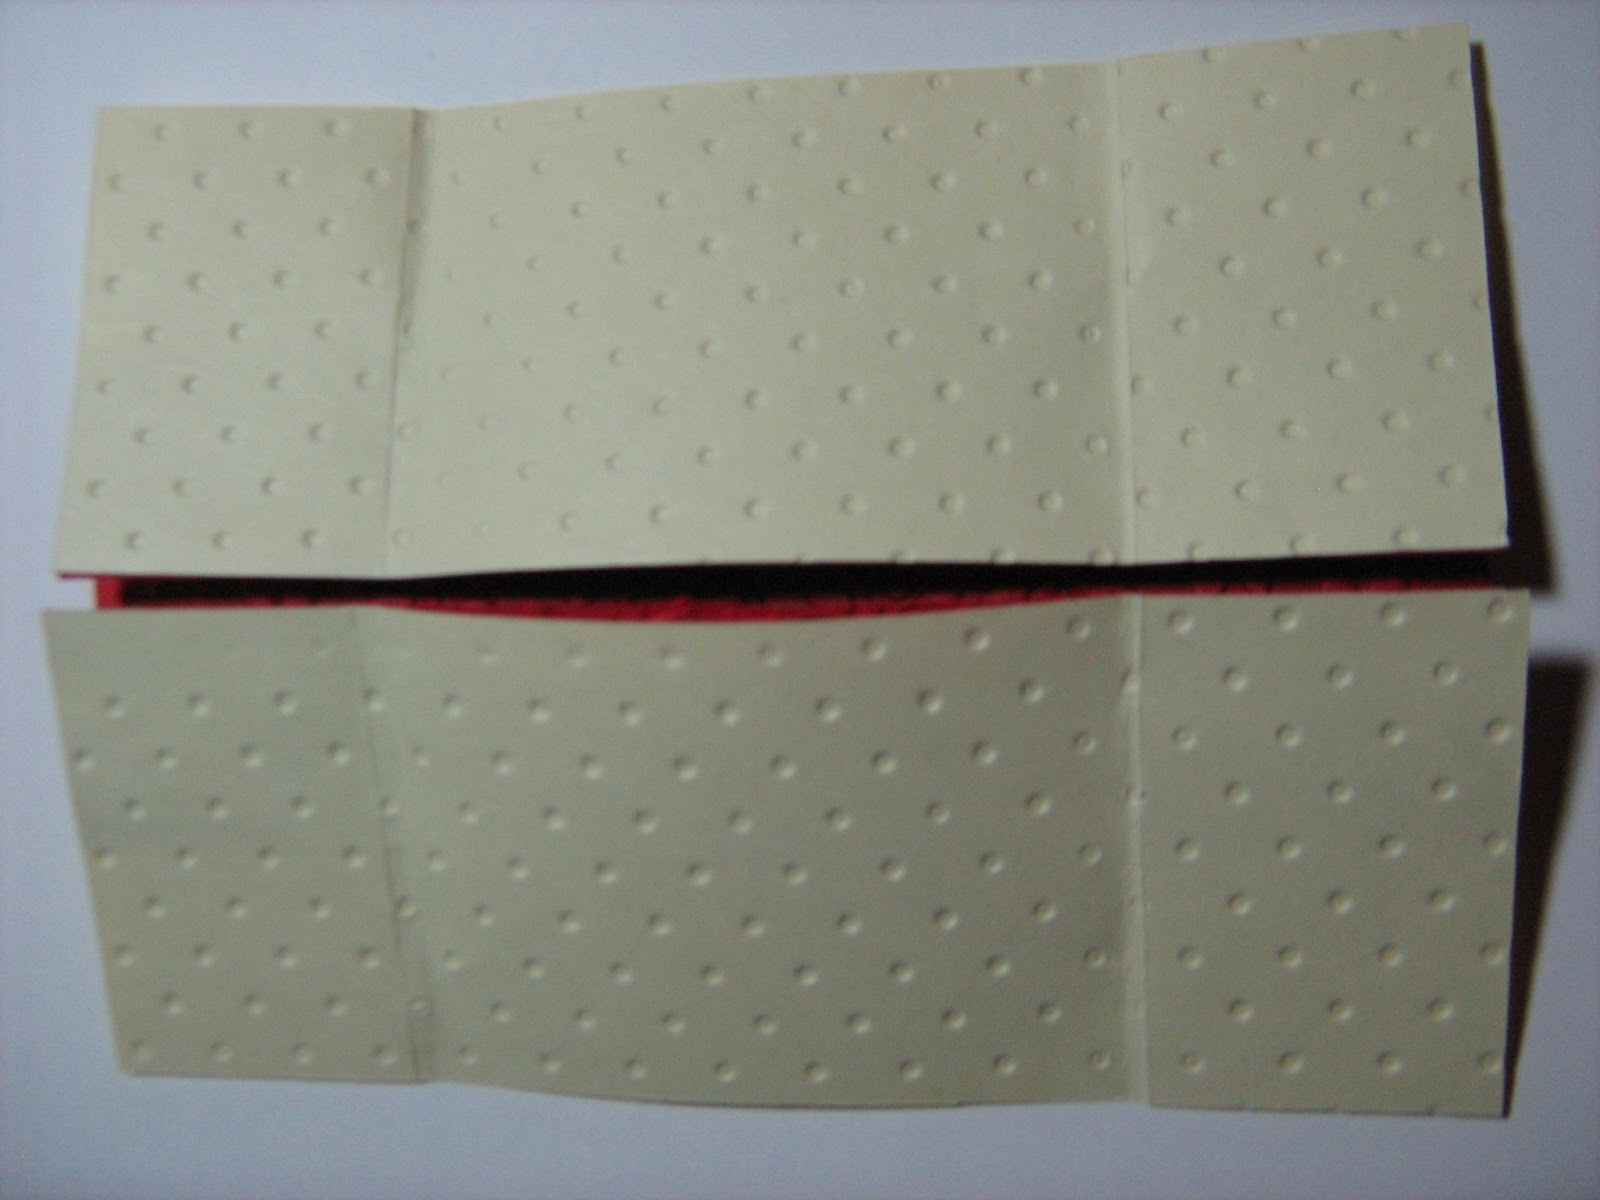
This is what it looks like opened.

Next opening looks like this:

And the last opening is the back of the bottom paper.
TUTORIAL #2:
Here's the 6"X6" version of the Never Ending Card. Start with 2 pieces of 6"X6" paper.
Score at 1-1/2" on both ends of both papers.

Cut at 3" HORIZONTALLY on one and VERTICALLY on the other paper.

Place adhesive on corners only, using the score lines as guidelines.


Here is the second "side."

And, here's the third side.

And here is the last side, the back of the bottom paper. You can decorate each "side" uniquely.

Thanks for checking in!
Sharon
Great technique or fold...but looks very time consuming, LOTS of patience...may have to give it a try just so I can say that yeah, I made one...LOL! Thank you for the great details and pictures!
ReplyDelete