Monday, May 26, 2014

Baby Box cards including a tutorial!!

I've seen a lot of these box cards and finally decided to try it.  The first one I tried was one that was larger than a standard card.  I finally found one that would fit in a greeting card envelope.
Here it is opened from the top view:
I used the Something for Baby set and matching Framelits and Itty Bitty Banners.
 Here it is from the other side:
This is how it looks when it is closed and flat.

Start with a 8-1/2" sheet of cardstock and score it at 2", 4", 6" and 8" on the 8-1/2"" side.
 Then, cut it in half at 5-1/2",and you can create 2 cards.
Take one of the sheets you just created and turn the paper to the short side and score it at 2-3/4".
Cut down on 3 of the lines to the center, you will have a small flap that you need to cut off on one side.
The tab left will be the one to hold your box together.  I used Sticky Strip to hold it together.
Fold it in half and adhere the flap so it lays flat.
Then, open it up and fold down the 3 flaps and leave the back standing up.
The panels measure 1-7/8" x 2-1/2".  You will need 4 matching ones for the bottom and 4 for the top.  
You will also need another strip for the long back  part that measures 1-7/8" X 5-1/4".

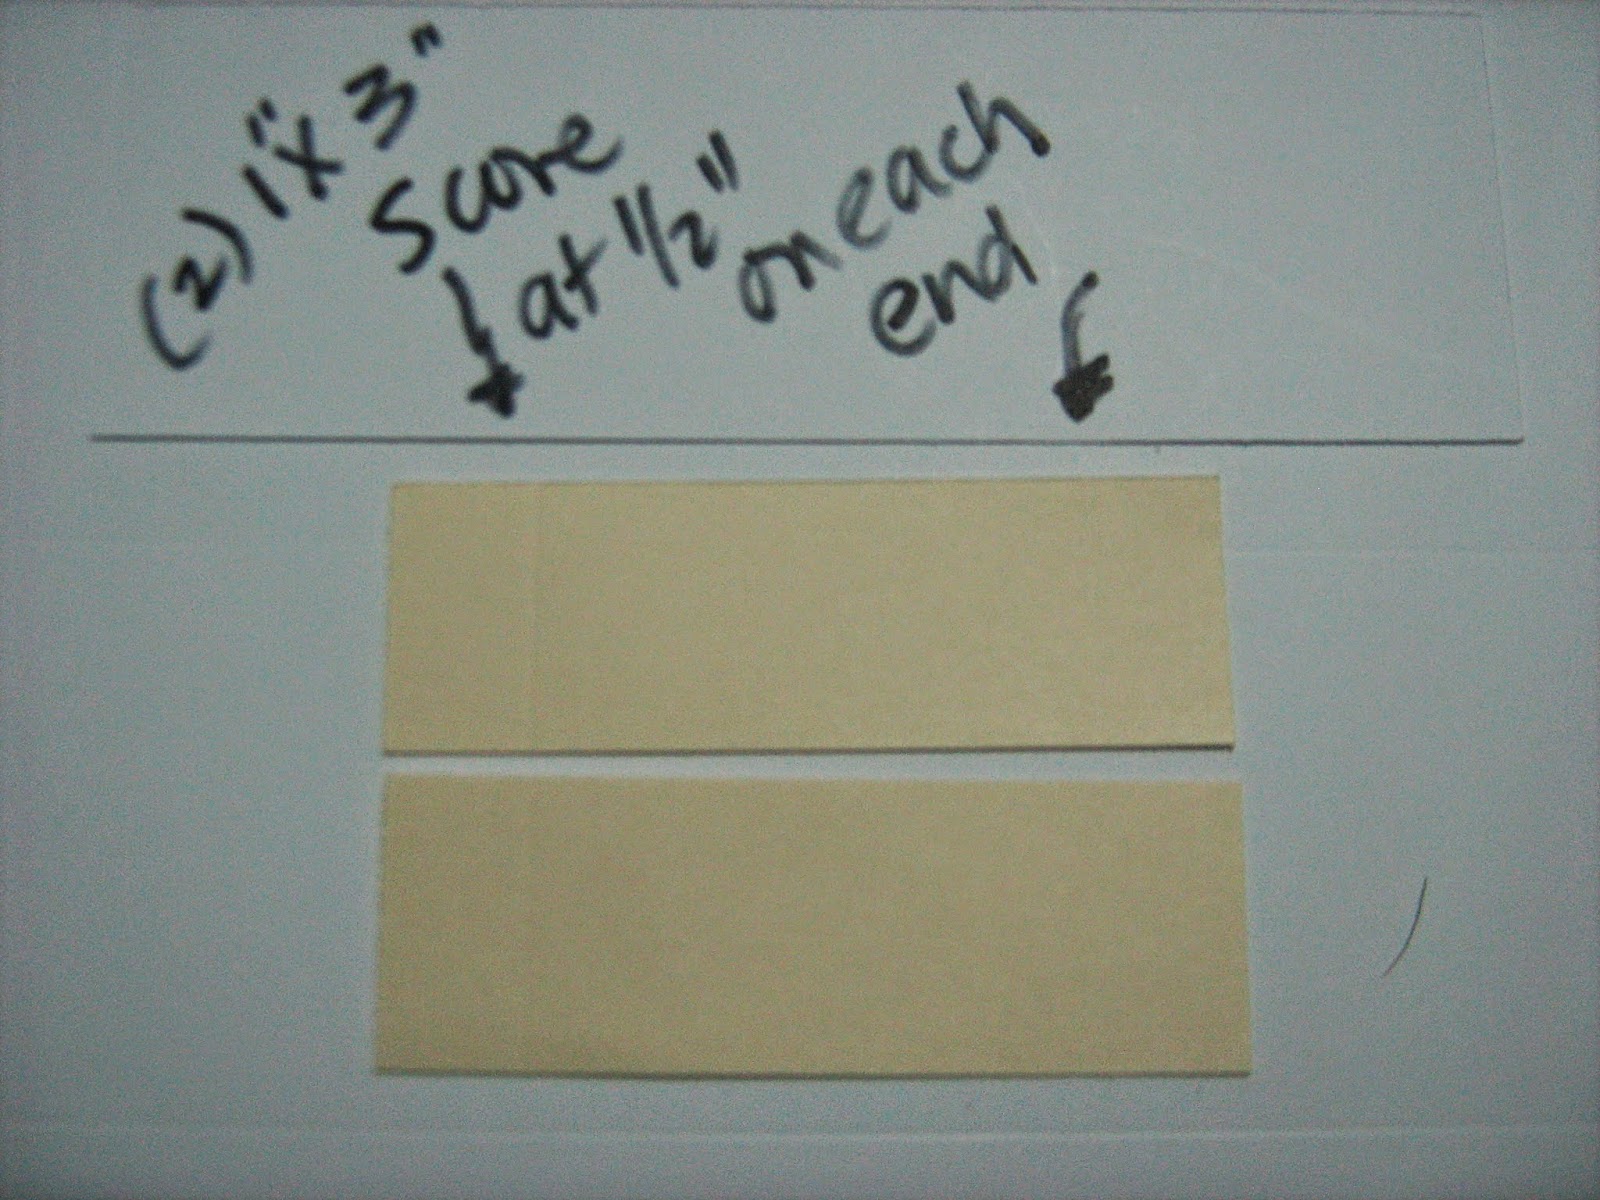
Cut a piece 2" X 3", score it at 1/2" on each side and then cut it in half so you end up with 2 flaps,
 Fold the flaps so they look like this:
 Adhere them to the inside of the box like this:
Because I used the Moonlight Designer Paper Stack, you will have lots of strips left over that I used to hold the Die Cuts to make them "stand up."
 Adhere them to the strips you just put in the middle and decorate the rest of the flaps.
 Top view:
 Side view:
I even did a graduation version in a previous blog post
Thanks for checking in!
Sharon
EMAIL: lim5harona@gmail.com

Nicole's Graduation Party!!!

Had a great graduation party for my friend Nicole, here are the favors and the invitations.  More details on the invitation are on a previous blog post.
 Here's a close up of the favors.  They are filled with her favorite candies, Kit Kat and Reece's Peanut Butter Cups.
Here is the box card I made for Nicole for graduation. I'll be sharing the tutorial for this card in another post.

Here is another box card I made for another graduate.  I was able to easily make 2 cards because the die cuts the numbers into multiple pieces, so I cut out a green and a yellow number and switch the parts so it looks layered.
Here is how they look side by side, see how the numbers are the mirror opposite?
And they conveniently fold into an A2 envelope.  You can make 2 cards per 8-1/2" X 11"

I used a graduation decoration as a photo backdrop for my version of a photo booth, even with graduation cap props I taped to skewers.  I didn't have any paint stirrers or wooden chopsticks, so the skewers did the job!
Here is the Sac State graduate!
And I made a vegetable tray with red bell peppers, yellow bell peppers, jicama, and baby carrots
 I also made a fruit plate with watermelon and fresh pineapple.  So Sweet!!


Thanks for checking in!
Sharon
EMAIL: lim5harona@gmail.com

Thursday, May 22, 2014

Nicole's graduation invitations

I made a special invitation for my friend Nicole.
She is graduating from Sac State with a history degree.
So proud of her...she did it while raising 3 kids, working part time.  She started at Delta Community College and then transferred to Sac State.
Nicole kept her focus and did it!!!
Here is the outside with the Sac State logo as a background and Sac State colors behind it.
 Here is the inside with all some of the details.
What do you think?
Thanks for checking in!
Sharon
EMAIL: lim5harona@gmail.com

Monday, May 12, 2014

Paper Fortune Cookies!!

I was inspired to make some unique Mother's Day gifts, and I remember making Paper Fortune Cookies for my new hires years ago to wish them well after I spent 2 weeks training them.
I made them out of cardstock and the fortune was a message wishing them well as they embark on their first day on the manufacturing floor. I wanted this to be their first piece of mail in their work mailbox.
It looked something like this:
Here's my mini version for Mother's Day.  Here is the box full of them.

 I chose 2 different papers and packaged them with matching toppers in mini ziploc bags.
I started with a Scalloped Circle.
 I gently folded it in half, just in the middle because you need a crease for the fold.
 Here is the fortune cut into strips:  "Happy Mother's Day! Hope you have a day as FABULOUS as you!-Sharon
Flip the paper over, with the crease now vertical, place the fortune so it lays across the middle and hold the ends up like folding a taco.
 Put the center against the edge of a table and gently fold it over

 Then, pinch the ends together and use a glue dot to keep it together.
 I used the Framelits Labels for the topper of the 4 x 3 Ziploc bags, stamped and punched out the "Just for You" tag.
I folded the label in half, stapled the back to the bag, and used some double stick tape to hold down the front of the label to the front of the bag.
 Tah Dah!!
 What do you think?
Thanks for checking in!
Sharon
EMAIL: lim5harona@gmail.com

Monday, May 5, 2014

A Farm themed baby shower invitation!!!

Hello,
My friend Phyllis wanted to make baby shower invitations and wanted a farm theme because the mom to be has goats and chickens.  I perused Pinterest and found some really cute barns and punch art farm animals.
This is what I came up with, what do you think?


I used the Woodgrain Embossing Folder to simulate the wood on a red barn door, I used the owl punch for both the owl and the cow. stamped out the "whoo hoo" with the Just Saying stamp set and Framelits, and made my version of the barn door with the Peekaboo Frames.
All the party information was inside the card.

Thanks for checking in!
Sharon
EMAIL: lim5harona@gmail.com