Hello,
I wanted to try making an arrow card and did two versions, one Horizontal,

and one Vertical. I used a new stamp set, Art Gallery, its coordinating dies, Floral Gallery and Paper Blooms DSP available on Jan. 5, 2021.

Start with the base card, 5-1/2" X 8-1/2", scored at 4-1/4", then mark the bottom center at 2-3/4" and both sides at 2-1/8"

Then score from the right side of the top of the card to the bottom center mark and then the left side of the top of the card to the bottom center mark.

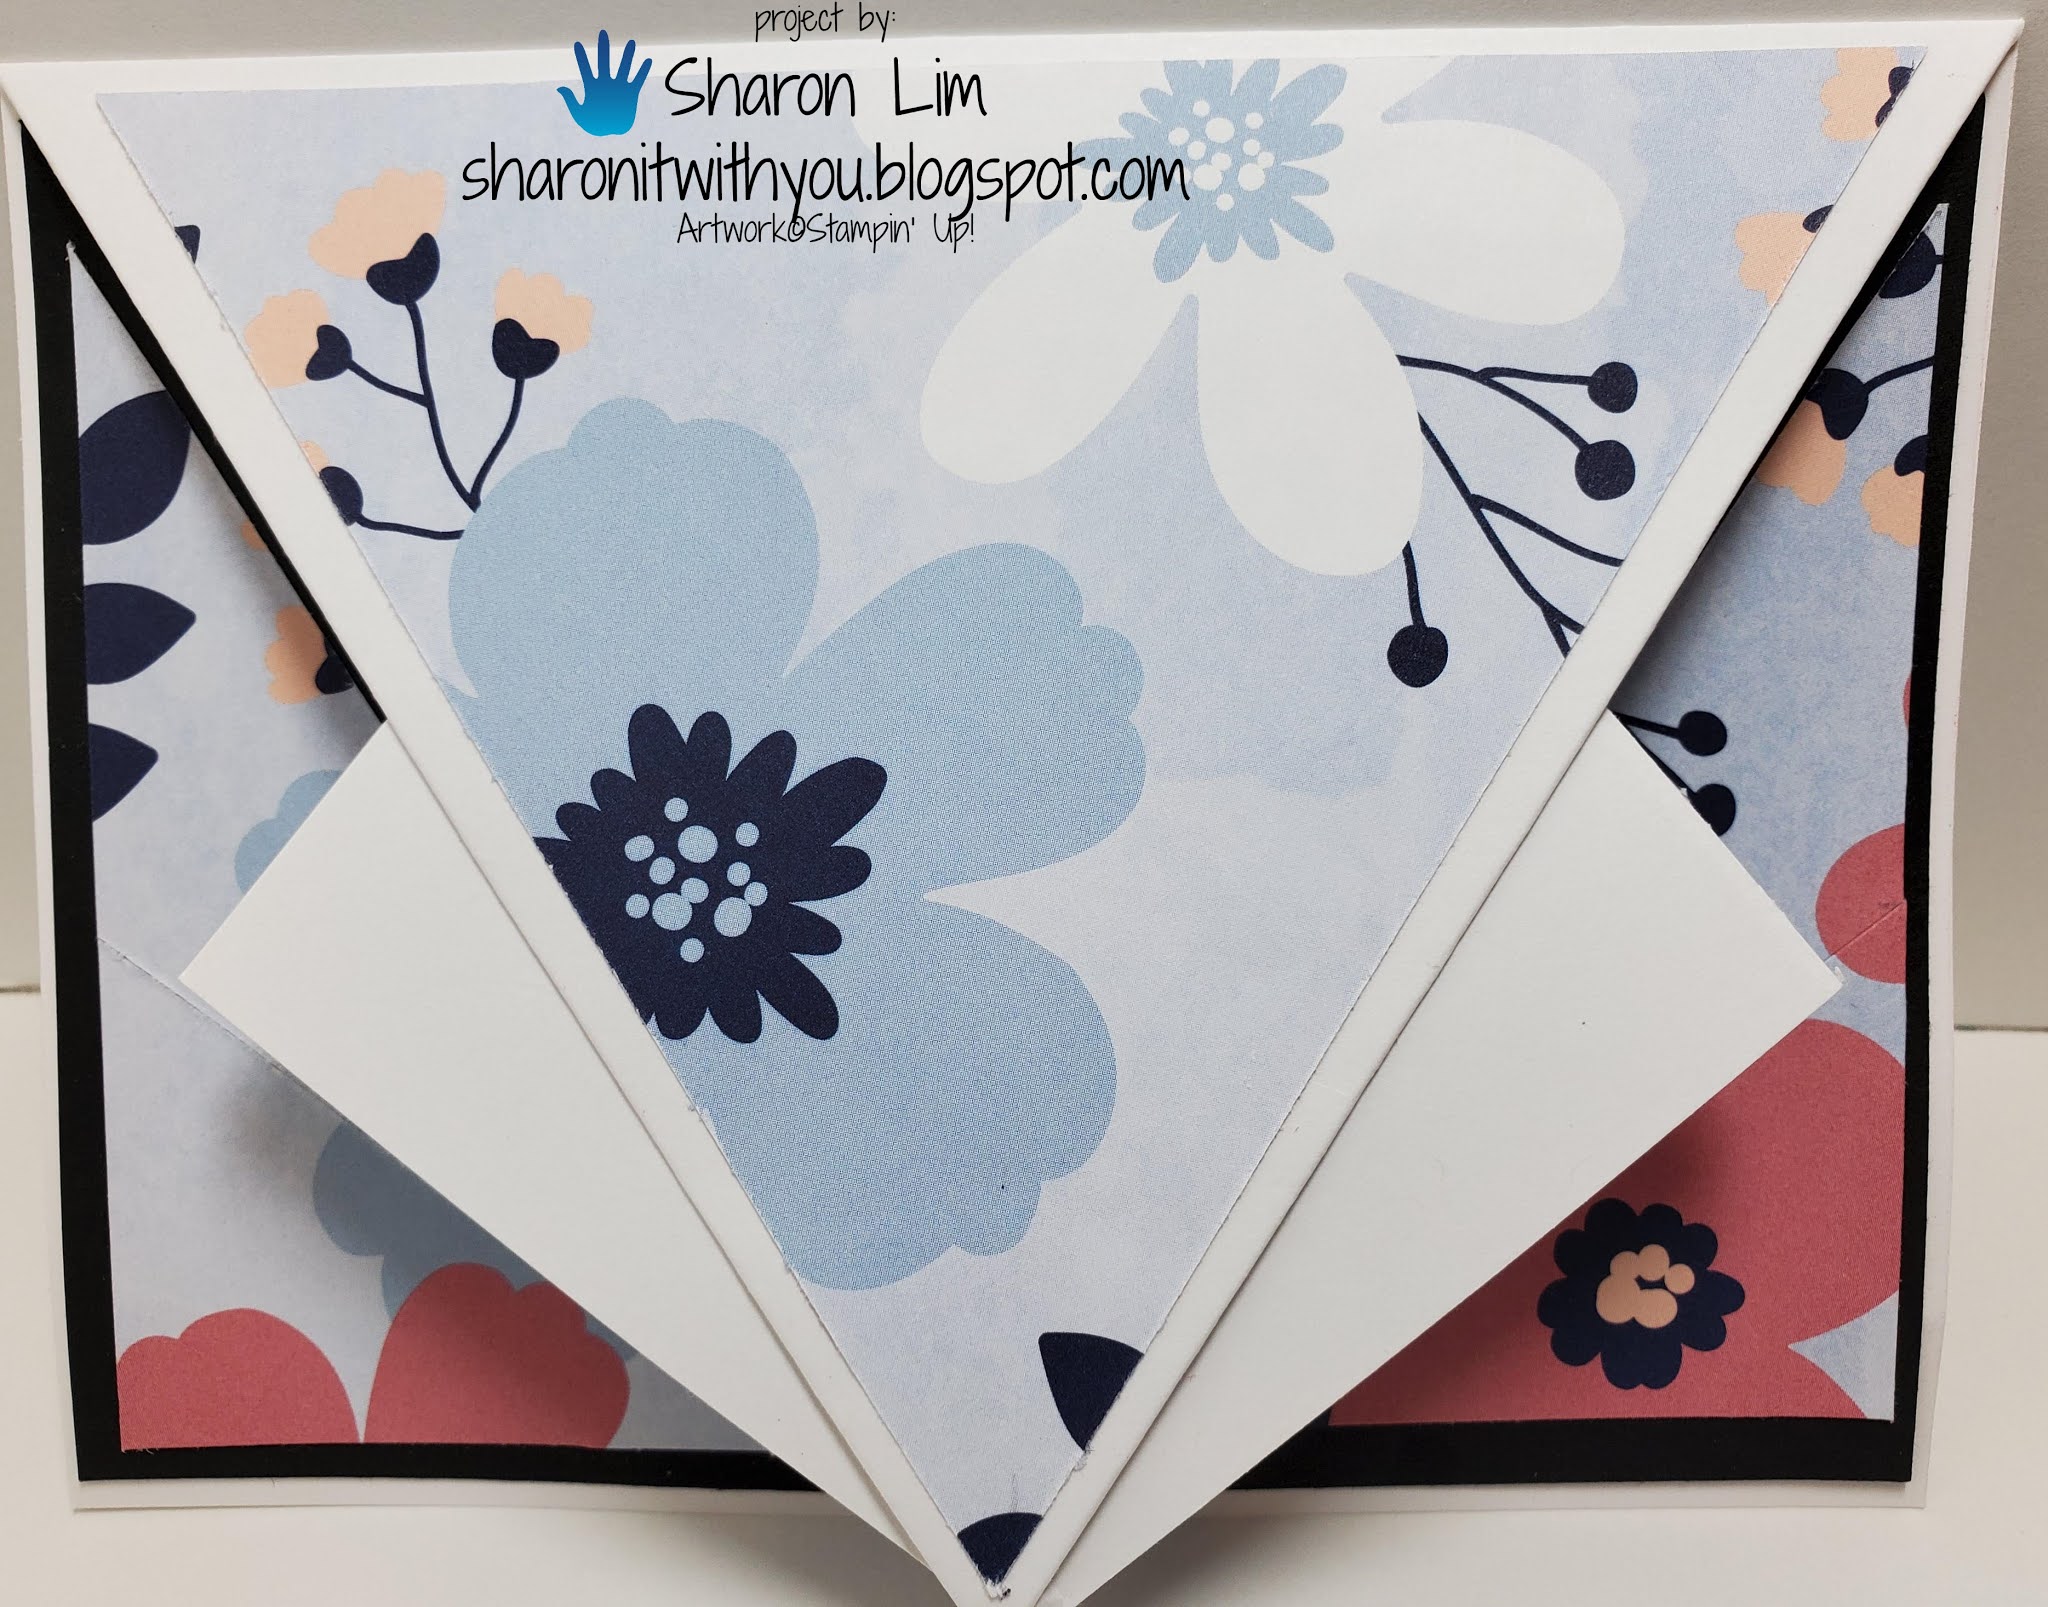
This is how you fold it to create the arrow look.

Then, start with a piece of Night of Navy, 4" X 5" and mark the bottom center at 2-1/2." And with a piece of Paper Blooms DSP, 3-3/4" X 4-3/4" mark the bottom center at 1-7/8."

Then, cut from the mark you made to both sides of the top of the card on both the cardstock and the DSP.

Then, glue on the DSP to the cardstock and adhere the middle to the front of the card and the 2 sides in the middle of the inside of the card.
Then add the die cut out of Night of Navy with Adhesive Sheet on the back to the front.
And stamp your choice of sentiments from the Art Gallery stamp set in Night of Navy ink on a punched out 2-1/4" circle.

And here is the Vertical version. Start with the base card, 4-1/4" X 11", scored at 5-1/2", then mark the bottom center at 2-1/8" and both sides at 2-3/4"
Then score from the right side of the top of the card to the bottom center mark and then the left side of the top of the card to the bottom center mark.

This is what it looks like when you fold it into the arrow shape.

 Then, cut from the mark you made to both sides of the top of the card on both the cardstock and the DSP.
 Then, glue on the DSP to the cardstock and adhere the middle to the front of the card and the 2 sides in the middle of the inside of the card.


Then, start with a piece of Night of Navy, 4" X 5" and mark the bottom center at 2." And with a piece of Paper Blooms DSP, 3-3/4" X 4-3/4" mark the bottom center at 1-7/8."


Then add the die cut out of Night of Navy with Adhesive Sheet on the back to the front.

And stamp your choice of sentiments from the Art Gallery stamp set in Night of Navy ink on a punched out 2-1/4" circle.
Thank you for checking in!
Looking forward to sharing more with you next time.
Sharon
Looking forward to sharing more with you next time.
Sharon
CLICK ON THE IMAGES BELOW TO ORDER SUPPLIES TO MAKE THIS CARD


 Circle Punch")


 Designer Series Paper")


Sharon Lim
Stampin' Up! Independent Demonstrator
Rubber Stamps and Accessories including Scrapbooking
EMAIL: sharonitwithyou@gmail.com
CELL: (707)486-3500
No comments:
Post a Comment