Hello,
I love the Layering Hollyhocks Dies and couldn't wait to try this card out. I used the Pretty Prints because they coordinated with the colors I made the flowers with, Cherry Cobbler and Flirty Flamingo. Scroll down to the bottom for a full video tutorial.


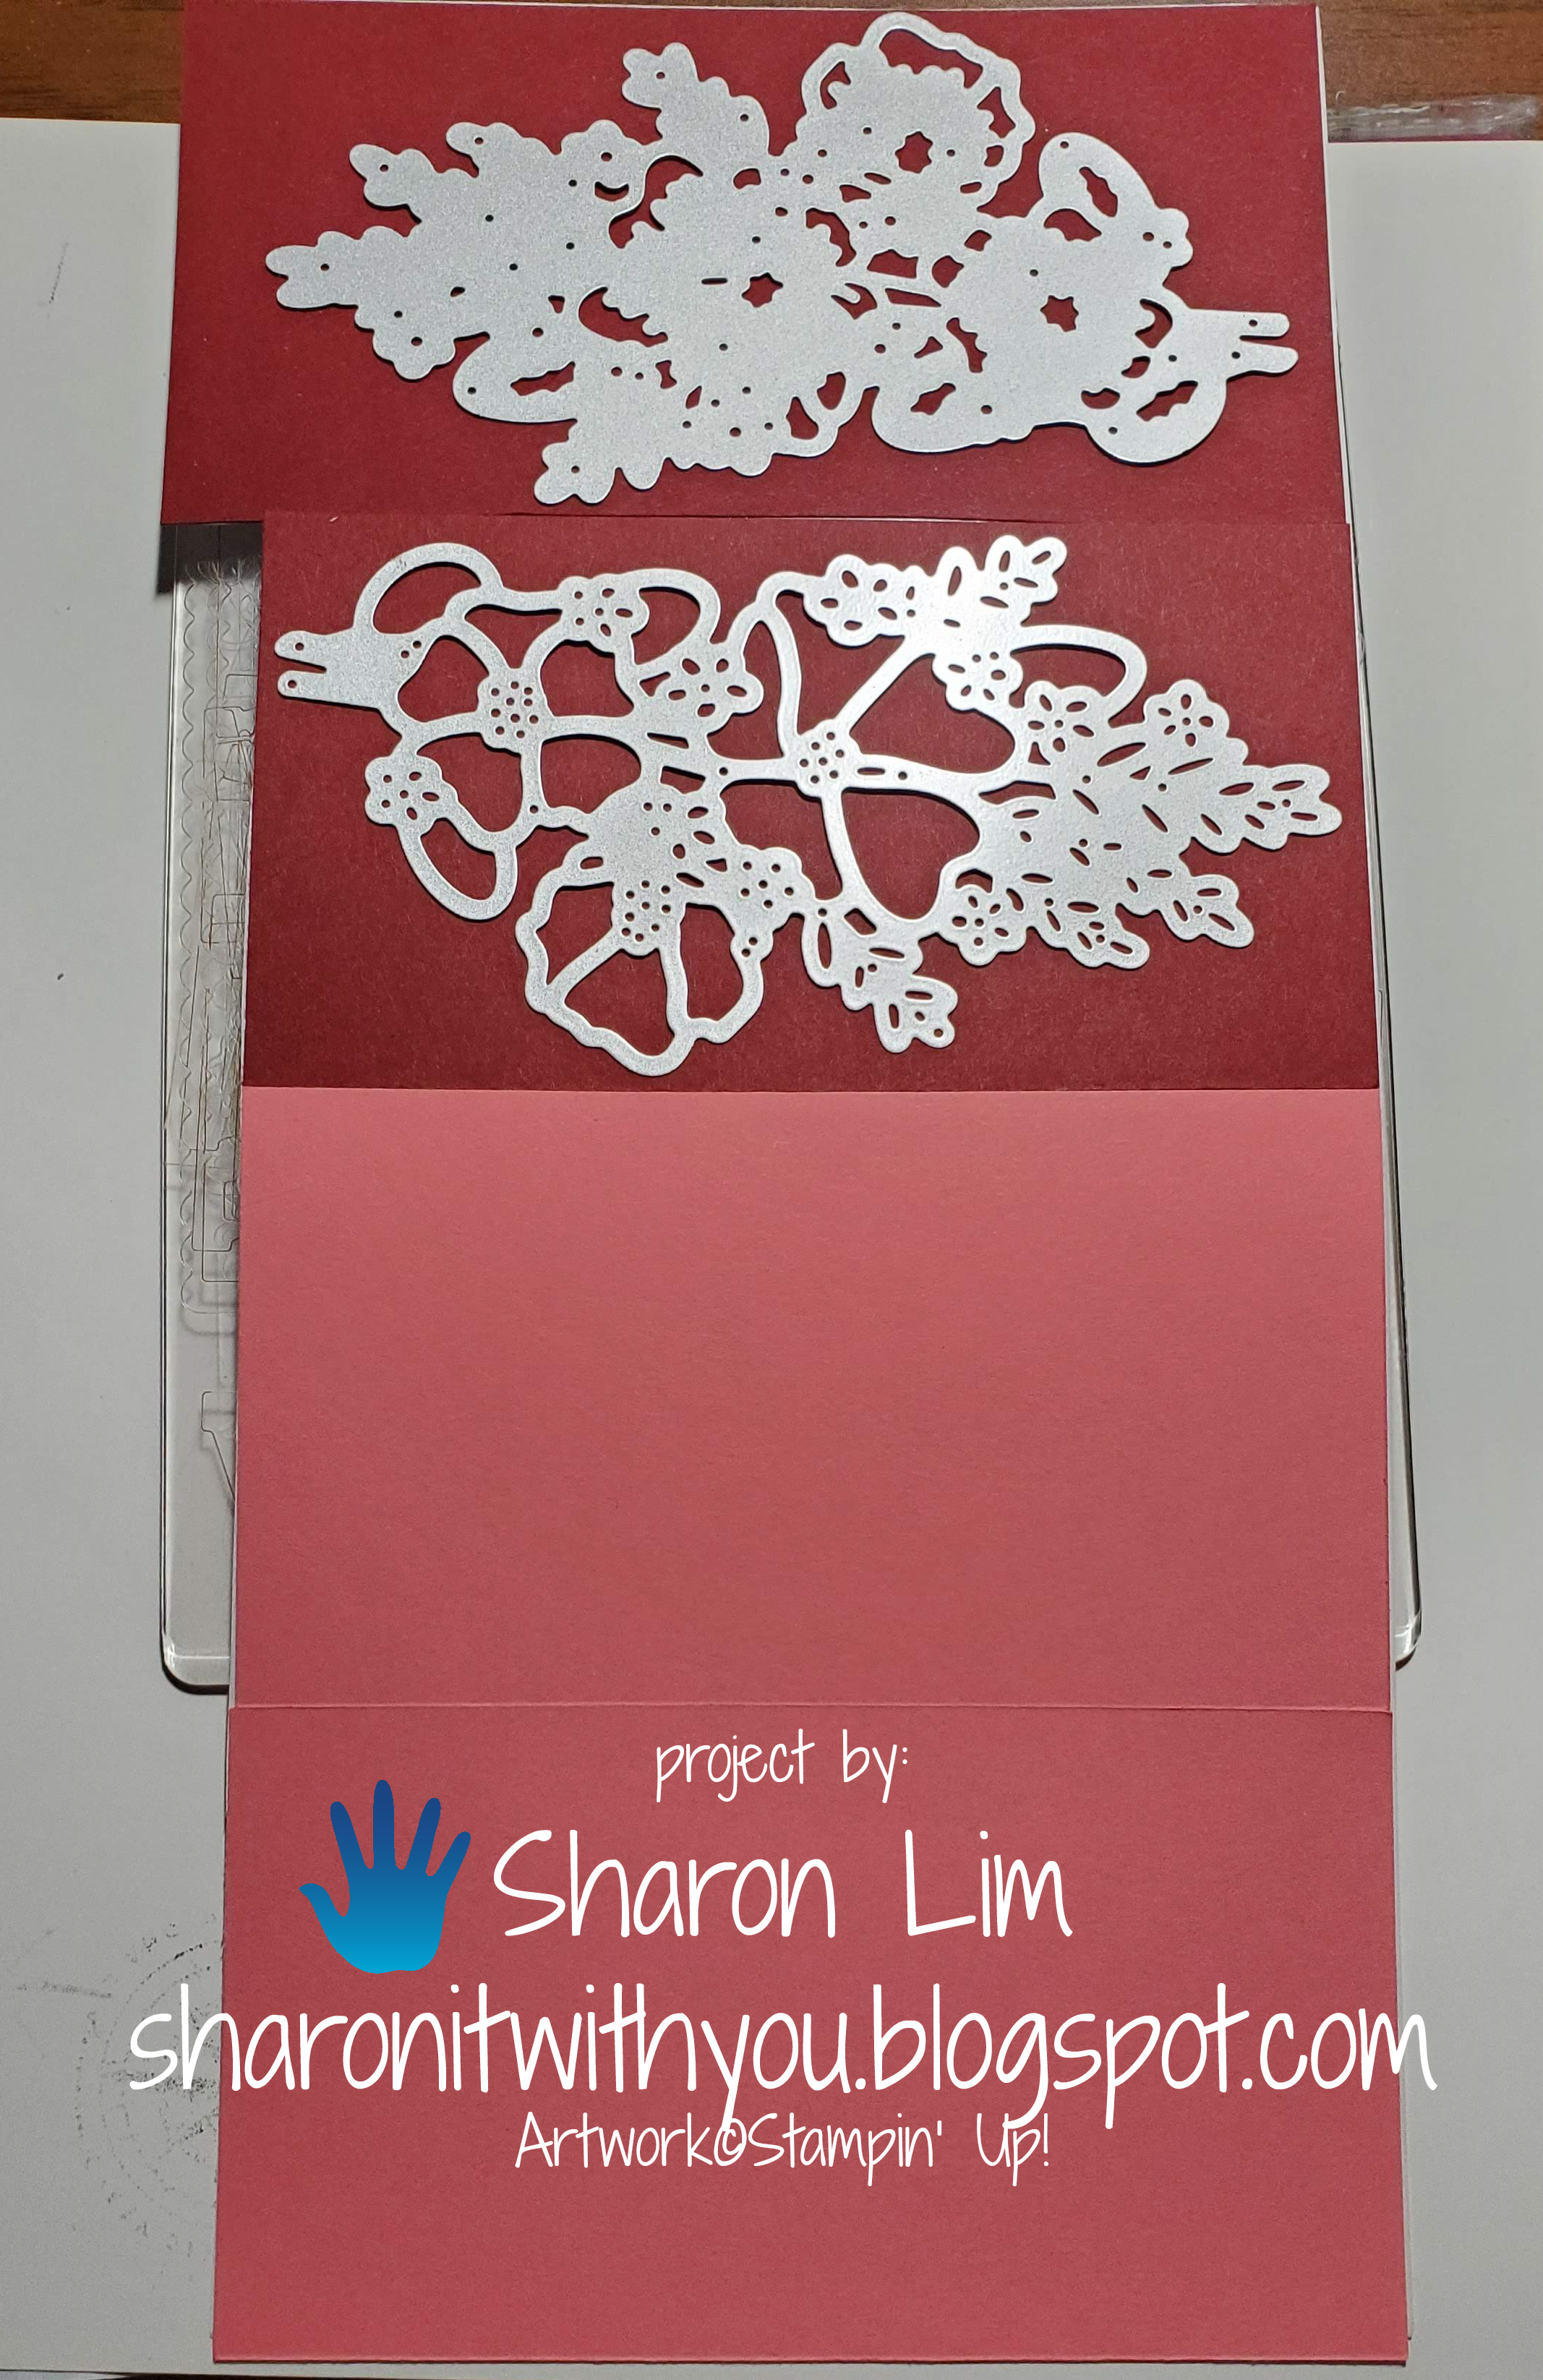
Fold along the score lines so it looks like this:

I used the Layering Hollyhocks dies to cut the fronts and backs both in Cherry Cobbler and Flirty Flamingo. First, I applied the Adhesive Sheets to the back of the cardstock and ran it through the SU! Cutting and Embossing machine. First the Cherry Cobbler.

See how the release paper from the Adhesive Sheets peels off? It even takes off some of the pieces that remained in the die cut.

And, Ta-Dah! Instant Sticker, no glue mess, and no tiny pieces to "poke" out!!

Which one do you like better? This or That?

Next, place some glue on the fold,

And sandwich the larger die cuts in the fold.

Next. you'll need a piece of cardstock and DSP for the front.

And a piece of vellum that you will emboss with some White Embossing powder. Check out the video tutorial below for a good tip in storing the powder for easy clean up.

Here is the finished product.

And the inside

Here's a full video tutorial to make this card: https://youtu.be/u8TmM99aFf4
Please support me by:
- Signing up to get my blog posts
- Subscribing to my YouTube channel
- Shop with me for FABULOUS Stampin' Up! products
- Join my team and enjoy 20% off (or more) with no selling!
- Any questions? Email me at sharonitwithyou@gmail.com and I would be happy to help!
Thank you for checking in!
Looking forward to sharing more with you next time.
Sharon
Looking forward to sharing more with you next time.
Sharon
CLICK ON THE IMAGES BELOW TO ORDER SUPPLIES TO MAKE THIS CARD


")
")
 Designer Series Paper")


Sharon Lim
Stampin' Up! Independent Demonstrator
Rubber Stamps and Accessories including Scrapbooking
I vote for "this". Lovely card.
ReplyDelete